Pico de Gallo


image
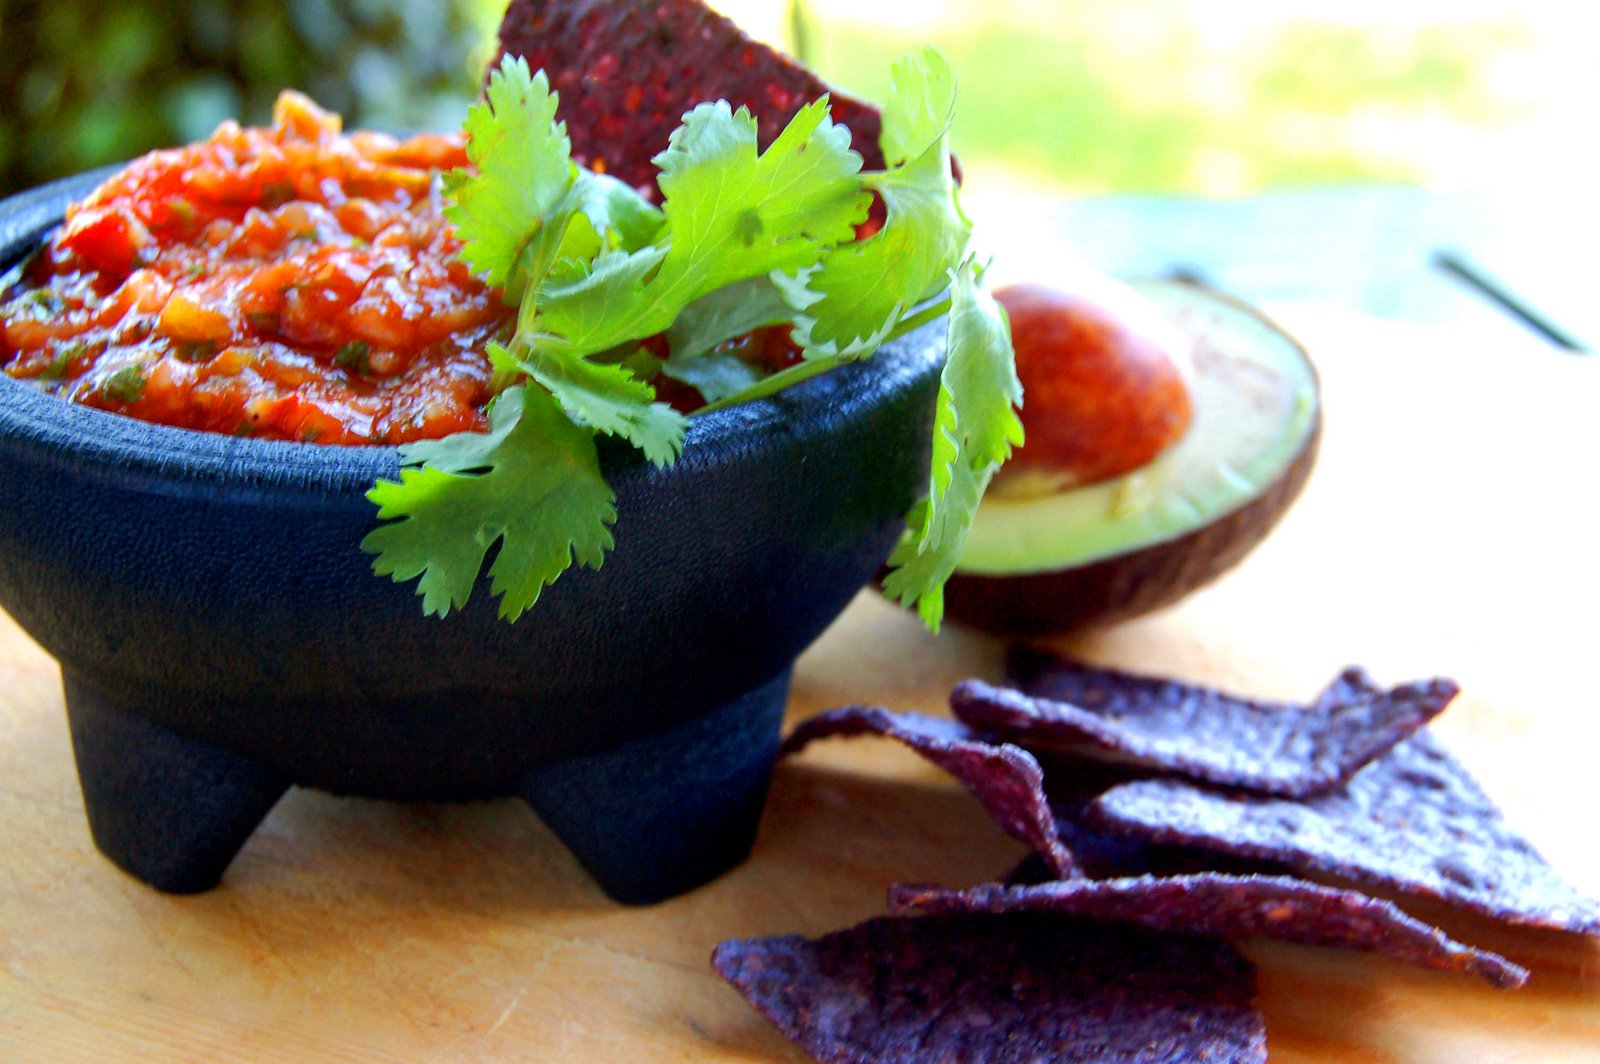
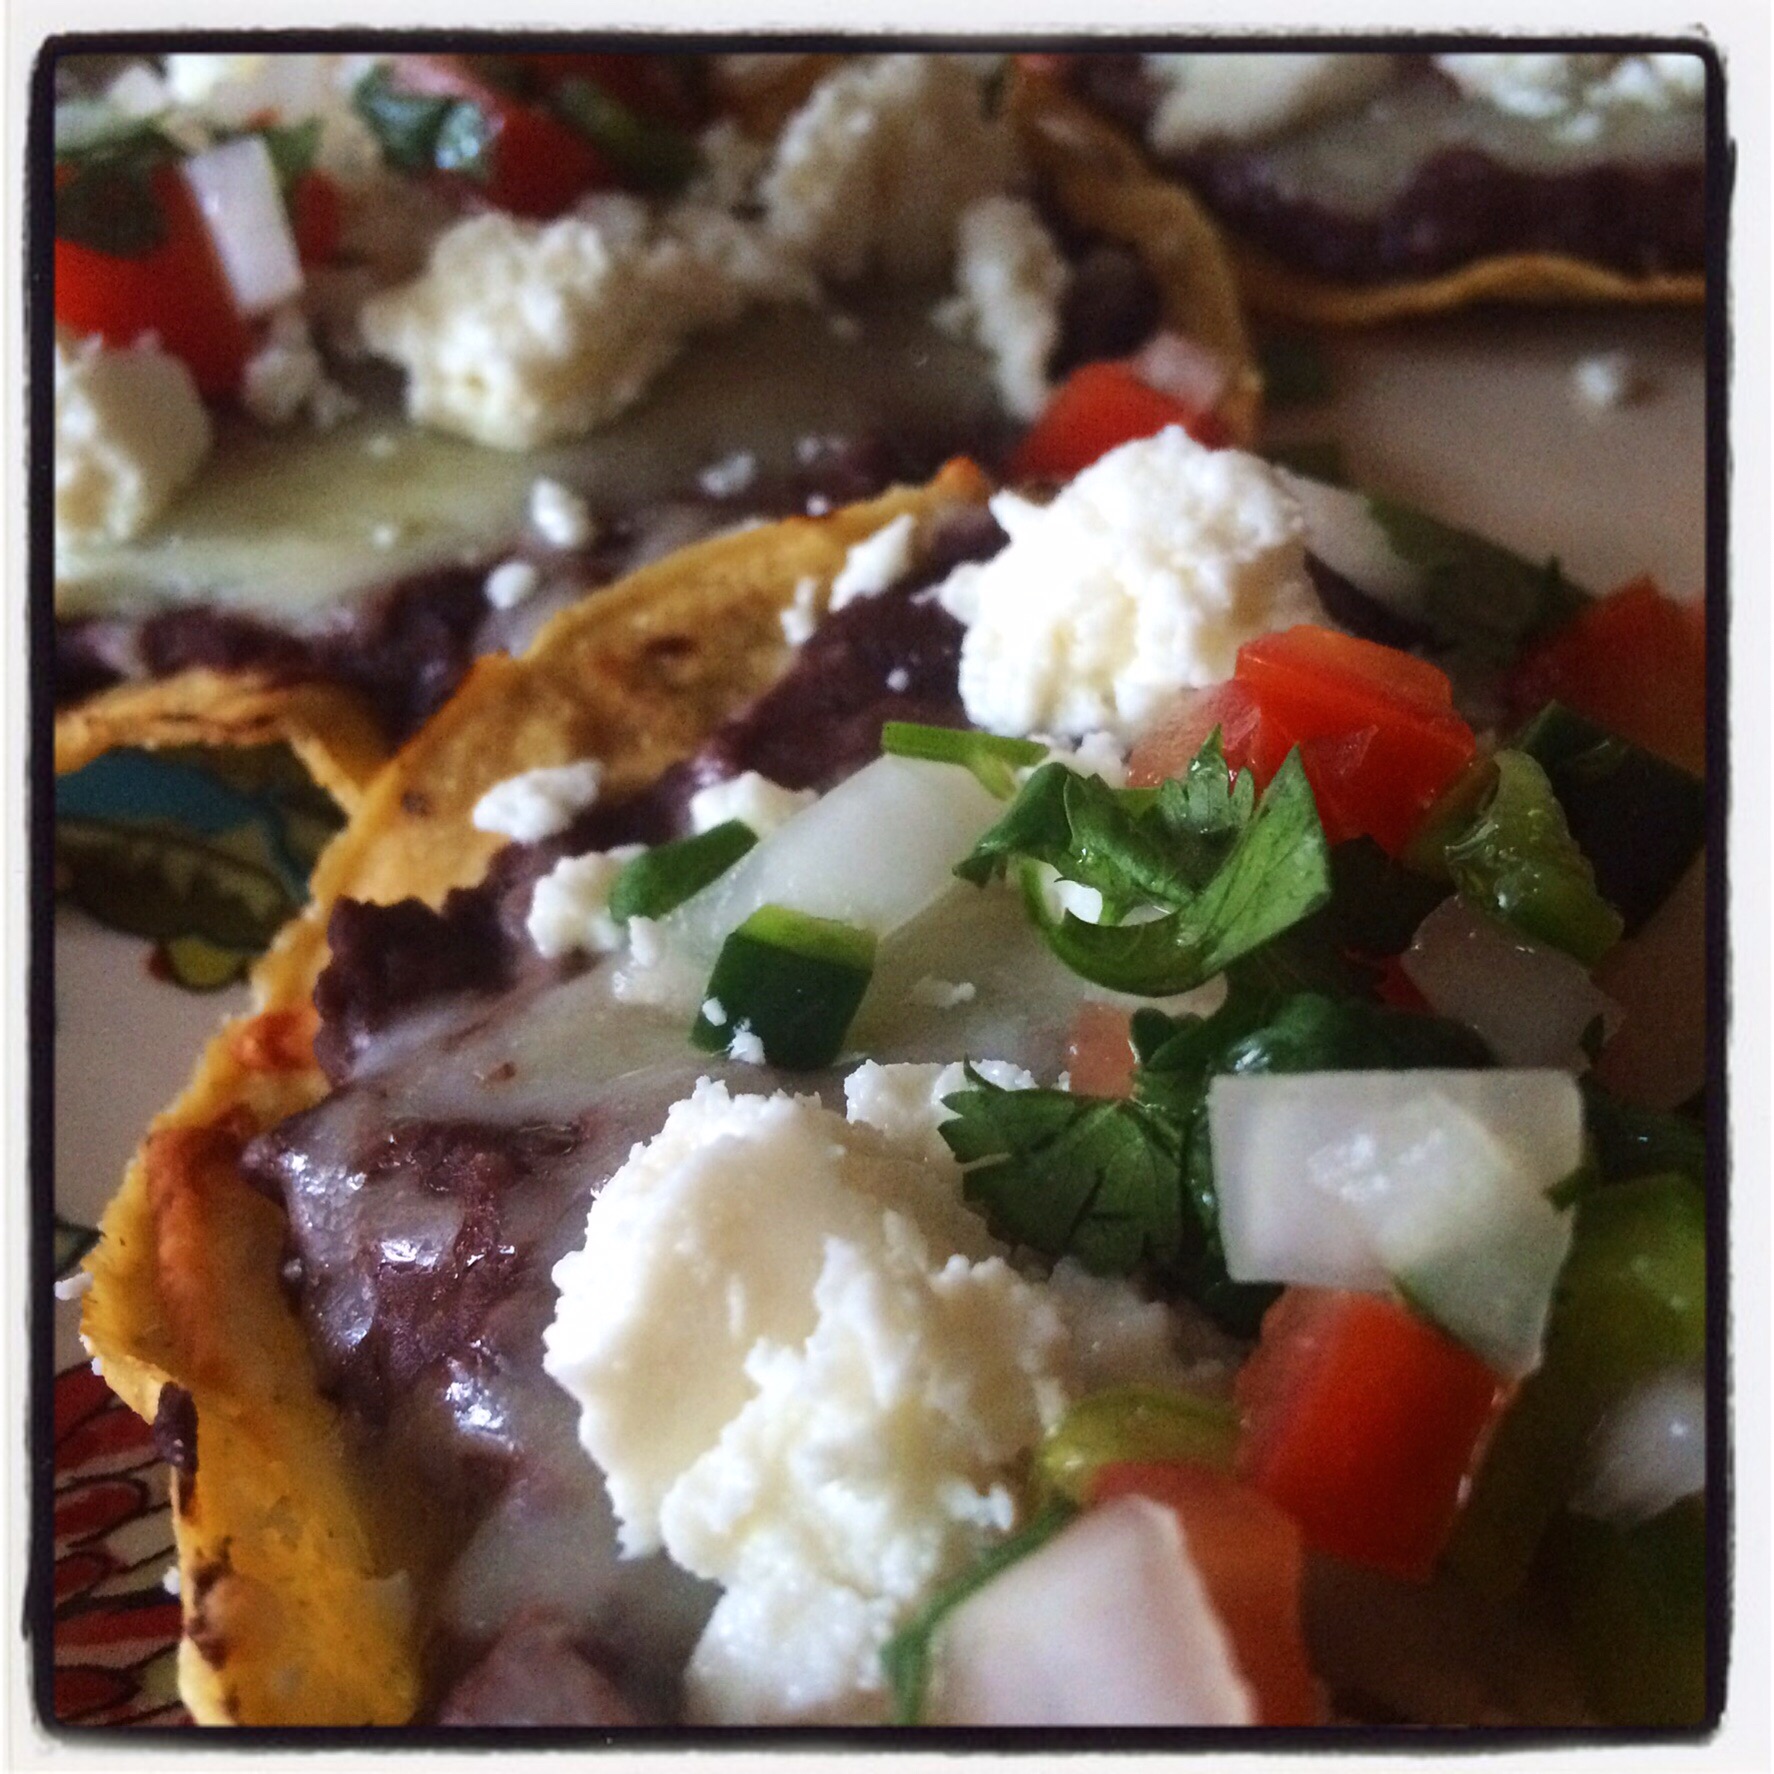
As I mentioned in a previous post, I recently discovered a little gem of a Mexican market and I have since been frequenting their produce section. Yesterday I walked out with 3 bags of produce including a large pinapple and only spent about $6.00. Ole!

I don’t know about you but for me pico de gallo just screams summer!  Fresh tomatoes, onions, jalapenos, lime juice and cilantro. I want to put it on everything! Not only is it tasty and fresh – but it looks beautiful and makes everything much more appealing. You eat with your eyes first, I always say. So, yes… presentation can be everything. 🙂

Continue reading

Sopa de Albondigas


sopa 2

This was inspired by by sister from another mister’s mother… yes, you heard me right. My best friend’s mother, Josie, used to have a pot of soup or beans or something on the stove all the time… which was made living next door quite delightful! I recently discovered a genuine Mexican market up the street from me (which I’ve missed since moving to Nashville from Los Angeles) and I went a little crazy shopping. Seriously – support local vendors any time you can. I mean, FIVE limes for $1.00 and they’re .85 each at Kroger! With the exception of the seasonings (which I already had) I got every ingredient listed below at my new favorite market. Happy Cinco de Mayo!

Continue reading

Not My Mama’s Gringo Chili


chili2

My mother, God bless her, was not much of a cook. She only had a couple of tried and true recipes in her “go to” list. The rest, in the era that was introduced to convenience foods, was boxed, canned and highly processed. I didn’t like food much as a kid… thanks to meals like Chun King canned Chinese food and powdered potatoes and canned meatloaf (yes, I said canned. It even had the can rings imprinted in the meat when you pushed it out.). Fortunately, during college I dated a guy whose mom was a gourmet Italian cook and I discovered a whole new world!

Continue reading

Heirloom Tomato Pie


I’ve been in Nashville for more than 15 years now, and I’ve learned to embrace a lot of the Southern culture. I am enamored by the slower pace, the charming brick houses, and white church steeples that peer atop the gold and amber trees during Fall. I catch myself saying y’all… and I drawl out certain words, doubling their syllables. I’ve even listened to a country song here and there, and didn’t hate it. And I may or may not have tried on a pair of cowboy boots recently.

But Southern food? Oh dear Lord, the food. Try as I might, I have not learned to love it… or even tolerate it. I don’t like the smell of fried food. I don’t like brisket or bbq sauce. I don’t like sweet potato pie and I can’t stomach even walking into a Meat & Three (which I’d never even heard of before moving south).  I take pride in the fact that I have successfully avoided stepping foot into a Shoney’s for 15 years. That alone should earn me a West Coast badge. And don’t even get me started on the copious amounts of shortening that run through the veins of true Southern women.

But this past weekend, in an attempt to celebrate the tomato… something East Nashvillians have been doing for the past nine years at what’s now known as, “TomatoArtFest“… I decided to make a VERY Southern dish… the tomato pie.  In the south, the month of August is when tomatoes are in their prime. They are the sweetest, juiciest and most plentiful. It’s funny, because up until this year, I’ve not been a big tomato fan. But I began buying from local farmer’s, and spending a little more on quality heirloom tomatoes. Then I learned that I have been killing their taste all these years by putting them in the refrigerator!  Yes, that’s right… you’re not supposed to refrigerate tomatoes.  Who knew? According to Peggy Trowbridge Filippone, the author of Tomato Selection and Storage, “Refrigeration is the enemy of the tomato as it nullifies flavor and turns the flesh mealy. The culprit is a compound called Z-3 hexenel, which accounts for the tomato’s scent and taste.” She goes on to suggest that if you must refrigerate tomatoes, take them out about an hour before you will use them to allow the tomatoes time to return to room temperature. All that to say, I have become a tomato-convert!

So, quick – before August is over – go visit your local farmer’s market and pick out a nice firm but tender heirloom… my favorite is called Mr. Stripey (seen to the right over there). I mean, the name alone is worth spending $1.00 on him. But to me, he (yes, I’ve given Mr. Stripey a gender) is the sweetest, least acidic of all the heirlooms.

I loved that for this pie I used tomatoes and onions from local farmers, basil from my friend Lisa’s garden, and thyme from my potted garden!

So grab several, keep them on the counter, and enjoy!

Ingredients

1 9-inch pie shell (unfrozen)
1/2 medium to large red onion, chopped
3-4 heirloom tomatoes, cut in half horizontally, roughly chopped, to yield approximately 3 cups chopped tomatoes. Or thinly slice to layer into pie – your choice.  TIP: salt tomatoes and set aside for 20 minutes to remove extra water – important step or your pie will be soggy.
1/4 cup *chiffonade of basil (about 8 leaves)
1 tablespoon fresh thyme (leaves stripped off stems and finely chopped)
2 cups grated Swiss or Gruyere cheese
3/4 cup Just Mayo
1 teaspoon (or more to taste) of Tabasco or your favorite hot sauce
1 tablespoon of Dijon mustard
Salt and freshly ground black pepper

*Chiffonade basil leaves by stacking them on top of each other, roll them up like a cigar, starting at one end slice crosswise in thin slices.

Preparation
Squeeze as much moisture as you can out of the chopped tomatoes, using either paper towels or place them in colander, lightly salt and let drain. The salt will draw out the excess moisture.

In a medium bowl, mix together the grated cheese, mayonnaise, Tabasco, fresh thyme and the salt and freshly ground black pepper. The mixture should be the consistency of a gooey snow ball.

Ready to Cook?
Preheat oven to 375°F.  Place pie shell in oven and cook for 8-10 minutes or longer until lightly golden.

While the pie crust is still warm, brush on your favorite Dijon mustard. Then sprinkle the bottom of the pie crust with the chopped onion. Spread the chopped tomatoes over the onions. Scatter the sliced basil over the tomatoes. Spread the cheese mixture evenly over the tomatoes, covering to the edge of the crust.

Place in oven and bake until browned and bubbly, anywhere from 25 to 35 minutes. Let cool for 35-45 minutes before slicing and serving. you can reheat it if you want but trust me on this, if you cut it too soon the “pie” shape will not hold. Don’t believe me? Check out my first slice below (5 minutes out of the oven). More like tomato stew than pie.

The Perfect Bite
Obviously the best bite is when it’s warm and the cheese is all melty… but please heed my warning above. Let it cool first so it will set into a “pie” shape when you slice it  — then reheat if if you must. But I did eat this cold for breakfast the next morning and it was pretty tasty!

The Perfect Pairing
One of my favorite red wines is a Washington Merlot called 14 Hands. And I just found out that they produce a chardonnay as well! 14 Hands chardonnay would be a perfect compliment to this rich southern pie. Bright apple and floral aromas are complimented by light notes of vanilla and sweet butterscotch. Juicy pear and apple flavors give way to subtle touches of toasty spice and ends with a soft finish. I love the butteryness of a chardonnay – which means it must be appealing to my inner-Southern Paula Dean.

The Perfect Health
Tomatoes are well-known for being low in fat, sodium and calories. But did you also know that tomatoes make your skin look great?  Beta-carotene, also found in carrots and sweet potatoes, helps protect skin against sun damage. Tomatoes’ lycopene also makes skin less sensitive to UV light damage, a leading cause of fine lines and wrinkles. Read more HERE.

Toasted and Roasted Vegetable Israeli Couscous


So I’ve had this jar of tri-color Israeli couscous in my cupboard for awhile now. Wasn’t sure what to do with it. But after a little research I decided roasting and toasting stuff to go in it was my best bet. Sometimes great things happen by accident. I just started throwing stuff in there and voila…. the result was pretty darn awesome. Savory, nutty, spicy… and that mysterious “umami” taste everyone’s talking about. Technically, the term is borrowed from the Japanese, meaning “savory taste”. But we use it meaning “beyond savory”… that something extra that makes you say, “wow!”

Anyway, the beauty of this dish is that you can swap out ingredients (like the veggies) for your favorites. Just be sure to prepare them the same way. Be sure to think about the type of vegetable you’re using to make sure it will go well with the spices used.

It’s a little labor intensive, but makes a huge batch you can eat on for days. Trust me, it’s worth it. Also, there are a few unique ingredients that if purchased in the grocery store, can be pretty pricey. Find a local International Market in your area (you’ll be surprised how many are out there!)… you will pay 1/3 of the price there and get twice as much. That’s where I purchased the turmeric, mustard seeds, cumin seeds, saffron and even the sliced almonds (1/2 lb bag for $4!).

Ingredients
2 cups of Israeli couscous (tri-colored optional. Sometimes called “pearl” couscous)
3 cups low-sodium veggie stock
1 cup water
1 cup fresh broccoli florettes
1 cup fresh cauliflower
1 whole red bell pepper (stemmed, seeded and julienned)
1/2 cup asparagus tips *and 2″long each)
1 cup chopped tomatoes (I used canned, drained and rinsed because that’s all I had)
1 16oz can chickpeas – rinsed
1/2 a medium sweet onion – diced
1 tblspn minced garlic
3 sprigs green onion – diced
1/2 cup sliced almonds (use less if desired – I love almonds!)
1/2 tsp red pepper flakes
1/2 tsp whole mustard seeds
1/2 tsp cumin seeds
1/2 tsp turmeric powder
1/2 tsp saffron
2-3 tablespoons extra virgin olive oil
sea salt and fresh cracked pepper to taste

Preparation
Pre-heat oven to 375 degrees.

This is a perfect opportunity to organize your mise en place.

Dice sweet onion, mince garlic, cut asparagus, broccoli, cauliflower, bell pepper and green onion according to ingredients above. Toss cut asparagus, broccoli, cauliflower and bell pepper lightly in olive oil and sprinkle with sea salt. Spread out on a cookie sheet into one even layer. You may need to do this in two batches.

Ready To Cook?
Place cookie sheet of veggies on top rack of oven (or use broiler). Rack should be roughly two inches from the top. Cook for 15 minutes or until broccoli and cauliflower edges start to get brown and crispy. You can smell when they’re done – yum! While that’s cooking,  drizzle olive oil and heat in  a large soup pot or dutch oven, over medium flame. Add sweet onion, garlic, saffron, turmeric powder and a pinch or two of sea salt. Saute until onions are translucent.

Once garlic and sweet onion are softened, add couscous to the pot and stir consistently. This will toast the couscous and will keep it from becoming mushy. Toast for 2-3 minutes… couscous will start to turn a slight color. Add veggie broth and water. Bring to a boil. Add another pinch of salt and pepper.

While that is boiling, drizzle a tiny amount of olive oil on a saute pan. Once hot, toss in mustard seeds and cumin seeds. They will sputter and splatter so be careful. This only takes a minute – so don’t burn them! You’ll suddenly smell the aromatic seeds and they are ready to throw in the pot of couscous. Reduce pot to simmer. Add roasted veggies, almonds, green onion, chickpeas, tomatoes and red pepper flakes. Stir until well mixed. Remove from heat when all liquid is absorbed. Add salt and pepper to taste.

Serve warm or cold!

The Perfect Bite
If you’ve been reading this blog for awhile, you know I’m about to tell you to stack your fork with a little bit of everything! However, there are so many ingredients in this – that might be impossible. So, take a few bites… you’ll be amazed how each bite will taste like a different dish! I love getting a taste of the earthy mustard or cumin seeds… then heat from pepper flakes, or smoky from the roasted vegetables. You’ll never get bored, bit after bite.

The Perfect Pairing
There are so many flavors happening here you want an uncomplicated wine. Try Cline Cellers 2010 Viognier. Cline’s Viognier offers rich and distinctive aromas of peaches, apricots, orange blossoms and honeysuckle which will compliment the smoky, earthiness of the spices in this dish.

The Perfect Health
I’ve heard so many people say that couscous is a grain. But, um, no. It is pasta. Believe it or not, it’s made from semolina. Often hand rolled and sprinkled with wheat flour to keep separated. Israeli couscous is toasted, rather than dried, which gives it a nutter flavor.

So is couscous healthy? Not necessarily. But it is a healthier option than most pastas. Especially since it’s generally paired with vegetables and not cheese. But it is a little “carby”. Read more HERE about the health pros and cons of our beloved couscous.

Orzo with Feta, Tomato and Haricot Verts


A friend of mine made me something similar to this dish a few years ago and I have continually thought about it over time – which means it must be pretty darn good! This is my version of it – I think I got pretty close.

If you are on a “no pasta” diet (which is just unthinkable in my book) you can substitute the orzo with quinoa.

Ingredients
1 lb haricot verts (thin French green beans – fresh)
2 cups orzo
1 medium sweet onion
4 garlic cloves – minced
4 medium vine-ripened tomatoes (I used red and yellow – but red is fine)
2 tablespoons olive oil
2 tablespoons white wine vinegar
2 tablespoons chopped flat leaf parsley leaves
2 cups crumbled feta (use plant-based if you don’t use dairy)
Salt and pepper to taste

Preparation
Get your mise en place ready. Fill a 4 quart pot with salted water for both the orzo and the green beans.

Finely chop onion and mince garlic. Quarter and seed tomatoes. Chop into 1 inch pieces. Trim the ends of the beans and cut in half. You can leave them whole or cut them smaller – it’s all preference here.

Have a bowl of ice and cold water standing by for the blanching of the green beans.

Ready To Cook?
In a large skillet saute onion and garlic in olive oil over medium heat, until translucent. Add tomatoes and cook, stirring continually until softened – about 2 minutes. Remove skillet from heat.

In the boiling salted water blanch beans for 1 minute. With a slotted spoon or spider transfer beans to the ice water so they will stop cooking. This process will keep your beans bright green and they will retain a crunch. If you put them in the dish raw – they will be a rather bitter – but blanching brings out their sweetness. Drain beans well and pat dry.

Add beans to the tomato mixture and return water in the pot to a boil. Boil orzo until al dente (it will continue cooking when added to mixture – so you don’t want to overcook it in the boiling process). Drain orzo and add to mixture. Add the white wine vinegar, parsley, feta and salt and pepper to taste. BE SURE TO TASTE! The feta is pretty salty – so don’t over do it. Toss to combine well.

This is great warm or cold!

The Perfect Bite
Here’s where I love to stack my fork to get a good complex flavor bite. Be sure to get some orzo, tomato, a haricot vert and feta together on your fork or in your spoon. Sweet, salty, creamy and crunchy! It’s truely a perfect bite…

The Perfect Pairing
And try pairing it with a sweet yet oak-y Chardonnay like Fat Bastard. (sorry mom, but it’s French!) Smooth in the mouth with light aromas and a long, toasty finish. It’s  a perfect pairing with a creamy pasta dressed in olive oil and tangy feta.

Garden Vegetable Pasta Bake


This is one of my favorite go-to meals, especially if unexpected company stops by… which happens frequently at my house. If your pantry is regularly stocked with an assortment of dried pastas and a few fresh garden vegetables (or even better – you have a vegetable garden in your yard!) you can whip this up on the spot… an hour’s time max!

Yields: 4-6 main course servings / 8-10 side dish servings

Ingredients
1 lb Fusilli or Rotini noodles (uncooked – I use Barilla Plus)
1/2 cup Vegan Parmesan
1 medium zucchini squash
1 medium yellow squash
1 red bell pepper
1 green bell pepper
1 cup asparagus tips
1 small sweet onion
1 medium red tomato (seeded – rind only)
1 tablespoon of minced garlic
1 pinch each of what I call The Italian Big 5 (dried): thyme, basil, sage, oregano, rosemary
1.5 tablespoon kosher salt (divided)
1 teaspoon pepper as needed
2-3 tablespoons cup extra virgin olive oil
1/4 cup dry white wine (you can you veggie stock if you prefer)
2 tablespoons vegan butter

Preparation
Preheat oven to 400 degrees.

This is where your veggie chopping skills come in. I’m going to list how I chop my vegetables for this dish, but change it up to your own preference!
Zucchini – trim ends and then chop whole zucchini into three 1.5″-2″ rounds. Then take each round and quarter length-wise.
Yellow Squash – slice into 1/8″ dials. If the squash is fairly fat at the end (more than 1.5″) cut dials in half. The goal is bite-size.
Red & Green Bell Peppers – I cut them julienne. Which is a fancy word for skinny strips. Simply trim top and bottom off pepper and discard. Core and remove seeds and spines. Then slices in 1/4″ slivers about 1.5″ long.
Asparagus – I use just the tips because often the center can be a little woody if not cooked long enough. I cut the tips off about 2″ in. Then I reserve the remainder of the stalk for making soups or purees.
Sweet Onion – peel and dice finely… this should be for flavor and not something you want bite-size.
Garlic – same as the onion above.
Tomato – Slice in half and core out seeds and spines. We just want the fleshy part. Cut into 1″ chunks.

Ready To Cook?
Put a large pot of water on medium heat. Drizzle olive oil and add a tablespoon of salt to the water. I use a good amount of salt when cooking pasta… I’ve heard your water should taste like the ocean when you’re done. Infusing your pasta water with salt is better than adding salt to your meal later.

Once your water comes to a boil add your pasta and continue cooking until it’s just shy of al dente.  Remember, it’s going to cook a little more in the oven so we don’t want to overdo it. I prefer to use the fasilli or rotini noodles because the corkscrew shape holds the seasonings best… but feel free to use whatever your favorite pasta is – I’ve used to bowtie with this as well, which makes for a festive looking dish.

Using as cast iron skillet (or any nonstick), pour in 2-3 tablespoons of olive oil. While bringing it to a medium heat toss in The Italian Big 5 (dried thyme, basil, sage, oregano, rosemary). Once your oil is ready (it sizzles with a drop of water), gently add in your onion and garlic first. Stir well so that the dried herbs are worked through the oil, onions and garlic. Saute for 3 minutes then slowly add the veggies in this order (based on cooking time): Peppers, asparagus, zucchini, squash. Reserve the tomato, which won’t be added until ready to bake. Pour the 1/4 cup of white wine over veggies and continue sauteing for 5-6 minutes or until the zucchini has become tender and can easily be stabbed with a fork.

Drain pasta and transfer to a large baking dish (a lasagna dish works best). Add diced tomatoes. Then pour all the contents from your skillet over the pasta including olive oil/wine reduction that’s happened in the pan while sauteing. This is going to be the sauce. TIP: If your pan has become too dry while sauteing, you may have overcooked your veggies. Just add more olive oil and a splash of white wine (or veggie stock) and de-glaze the bottom of your pan. Add that to your pasta-veggie mix.

Immediately add 2 tablespoons of Vegan margarine so it can melt. Add half of your Vegan Parmesan cheese and mix thoroughly until everything is coated and you can see that the herbs are distributed evenly.

Taste your dish to see if additional salt and pepper is needed. TIP: Don’t assume it needs salt – salted pasta may have added plenty. Always taste your food before seasoning!

Sprinkle top with remaining Parmesan and bake uncovered on middle rack for 20 minutes (or until cheese starts to brown at edges).

TIP: If making extra to freeze for later, do not bake the portion you want freeze. Freeze after it’s cooled. Should last in freezer up to a month.

The Perfect Bite
This is one of my favorite kind of dishes to get a perfect bite from. I love stacking my fork with a twirly little noodle, a juicy piece of sausage, a buttery bite of zucchini and sweet sliver of red pepper. Oh, my mouth is watering just thinking about it! I love the nutty Parmesan and lightness of this invisible sauce.

The Perfect Pairing
This is a great summer dish so I prefer to pair it with a chilled glass of wine. Now, I’ve long since been a rosĂ© snob. Pink wine? Really? My mind immediately goes to that giant box of Almaden Pink Blush Chablis that sits warm on the edge of my mom’s kitchen counter. Sorry Mom, but really?

However, rosĂ© has come a long way… and I’m starting to warm up to them… well, at least when they’re chilled (again Mom, really?). Try pairing this dish with this French RosĂ© Note Bleue CotĂ´s De Provence RosĂ© 2009 – it’s sweet and earthy. A perfect compliment to the buttery pasta and veggies and peppery sausage. Served chilled, about 47 degrees.

The Perfect Health
Using Barilla Plus, reduces carbs and adds protein to any meal.  It’s made from legumes such as Chickpeas and Lentils as well as Egg Whites, Spelt, Barley, Flaxseed, Oat Fiber, and Oats.  Be sure check the box for cooking instructions – Barilla Plus can take longer to boil. Unlike many wheat or whole grain pastas that taste a little, well, cardboardy. This one is delicious! And I’ve found it holds up better in soups (as in, doesn’t swell and get mushy).  Read more here about its nutritional value.

Roasted Beefsteak Tomato & Sweet Basil Pasta Sauce


I recently was given 12 large beefsteak tomatoes. Never wanting to refuse such a beautiful gift, I gladly accepted. Until I realized that I had no idea what to do with them and would never be able to consume them before they went bad. So I started scrambling through recipes and kept coming across a myriad of tomato and pasta sauces.  It seems that everyone has “the perfect” homemade recipe!

As much as I hate to admit this… I’ve never tried making my own sauce. And I have to admit that I feel like I’m cheating when I unscrew the pressurized lid of the Ragu jar and hear that familiar pop… and hoping my dinner guests in the other room don’t notice.

So, it’s high time I learned a thing or two about tomato sauce. I am learning that the “takes all day to make” sauce is truly the best kind… but for a quick and easy, and first attempt… I took the short route.

Of course, every recipe I found said that beefsteak tomatoes are not good for sauce… they’re “too acidic” and “too pulpy”. That I should use rich red Roma tomatoes. But never say die… I can make this work! After all, I don’t have Roma tomatoes. I have 12 very large, very ripe, very meaty “maters” that need to become something fast!

I wanted to make a sauce that was completely natural with *no “cans” or “jars” of anything. And I love roasted vegetables… so I decided that roasting the tomatoes would bring a smoky sweetness out of them, and help cut their acidity.

Ingredients (makes 2 quarts)
1 dozen med-large beefsteak tomatoes (or on the vine red tomatoes)
1 large sweet Vidalia onion
6 large garlic cloves
2 Anaheim chilies (seeded)
3/4 cup fresh basil – torn small
1 tablespoon dried oregano
1 tablespoon dried thyme
2 bay leaves
1/2 cup dry red wine
1/2 cup sherry
2 tablespoons anchovy paste (omit if vegan or vegetarian)
*2 tablespoons tomato paste (if you are making this in the tomato off-season you may need to add tomato paste to enrich the tomato flavor. But if making July-Sept you should be fine without – just taste and decide!)
1 tsp of sugar (to taste)
2 tablespoons extra virgin olive oil

Cut veggies into large chucks and toss onto a baking sheet that has at least a 1″ rim. Sprinkle in the dried thyme and oregano. Drizzle extra virgin olive oil across it and toss to coat. Put on top rack of preheated oven at 400 degrees. Roast veggies and spices for about 20 minutes until tender and just start to brown at edges and the skins on the tomatoes burst.

IMG_5213.JPG
Remove tray from oven and scoop vegetables into a large food processor or blender. Or place them straight into the stock pot if you have an immersion blender. Then you can mix it right in the pot. Add 1/2 cup of fresh sweet basil leaves and blend. Once you’ve brought it to a smooth consistency pour it back into the pot. Add the wine, sherry and anchovy paste and let it simmer on low heat for 30-40 minutes until it reaches desired thickening and taste. Add remaining chopped fresh basil right before serving.

TIPS:

1) Be sure to pour all the juices from the roasting tray into the blender as well – so much flavor there! If your sauce seems a little thin initially – keep simmering, it should reduce nicely.

2) If you’re having trouble getting your sauce blended well, try straining it to get the little pieces of tomato skin and seeds out. Just keep in mind that these textures are a sign of a homemade sauce and not one that’s been processed to death.

Keep In Mind: Due to the orange-red color of the beefsteak tomato, your sauce is not going to be a deep, rich red as you see in many of the store-bought brands (of course, they also use “enhancements”). If you prefer a more red hue, use peeled Roma tomatoes (or add a few for color). You can also add roasted red bell pepper… which will also add a spicy-sweet note to your sauce.

The Perfect Bite
Seriously, it’s a sauce. You’re gonna have to give me some grace on this one. But do dip a piece of crunchy toast to taste while cooking!


The Perfect Pairing
As you can see in the top photo, I paired this sauce with my homemade ricotta and topped it all on a bed of Fusili pasta (not homemade – yet). I also included some basil from my garden.

I asked my friends at Rumours East for a wine recommendation from their wine list… and here’s what they suggested (be sure to catch their 2 for 1 nights, wine tastings & art shows!):

2006 Villa di Azzano Refosco dal Penduncolo Rosso

“It’s typically a given that Italian foods are paired better with Italian wines, and there is no exception in this case. It’s a full-bodied red, rich and fruitful with hints of plum and almond notes. It delivers a strong, yet not overwhelming acidity level that would compliment the flavor of a homemade red tomato sauce. A good rule of thumb when pairing food and wine is not to overwhelm your taste buds by pairing contrasting acidity levels.

If you can’t get your hands on an exact bottle you are looking for, I would recommend a Zinfandel or a Chianti/Sangiovese. Zinfandels are known to be quite versatile and work well with traditional Italian dishes centered around the tomato.”

The Perfect Health
Typical jars of pasta sauce contain very high amounts of corn syrup (some as high as 25 grams of sugars, per cup!) and preservatives (avg 1100 mg of sodium, per cup!). Most pasta sauce recipes call for using a 6oz can of tomato paste (for thickening)… which still has 21 grams of sugar in it!

Making your own sauce, completely from scratch… makes a significant difference in your sodium & sugar intake. Just using fresh, natural products makes the taste unbelievable too! Per cup, a homemade pasta sauce similar to my above recipe will roughly garner a mere 10 grams of sugars and only 26 mg of sodium! Knowing that’s gonna make it hard to buy ever again.

Roasted Red Bell Pepper Salsa


Just the hint of a warm Spring day in my home here in Nashville brings people out of their Winter hiding and into the brilliant sunshine. On a beautiful day such as today, you’ll spot people gathering on front porches or in backyards, passing around a plateful of some beloved family recipe or sharing a favorite beverage. I may have romanticized this a bit, but Spring and Summer will do that to a girl.

One of my favorite summer-time treats is a healthy bowl of my homemade salsa… not just because it’s chock full of fresh ingredients like cilantro, summer tomatoes, spicy jalapeño peppers and sweet Vidalia onions. But because it’s a social dish. I served this just last night at a grill-out and it became the ‘watering hole’… where everyone gathered to scoop chip-fulls of chunky goodness as they caught up on each others lives. This particular recipe has a couple of unusual ingredients for salsa… a touch of Indian curry for heat and roasted red bell peppers for sweet. If you keep some of these ingredients on-hand… it’s a quick and easy way to bring people together and keep them coming back.

Ingredients
1 large can of Red Gold Whole Peeled Tomatoes (*or 10-12 fresh Roma tomatoes quartered and roasted – follow directions for fresh bell peppers below)
1 large sweet Vidalia onion – quartered
*1 jar sweet roasted red bell peppers (include about 1/2 the juice from the jar)

4 cloves of garlic
1/2 cup of cilantro leaves (remove stems)
2-3 jalapeño peppers – remove seeds and quarter
1 tablespoon Patak’s Hot Curry Paste (hopefully still in your fridge from making my curry hummus recipe!)
Salt & pepper to taste
Garden of Eatin’ Blue Corn Chips (or any bag of your favorite corn chips)

* feel free to roast your own bell peppers. Just cut in half, remove seeds and stem, drizzle with olive oil, sprinkle with sea salt and roast on top oven rack at 400 degrees for 20 minutes. You’ll know they’re done when your whole house smells AMAZING! TIP: to easily remove skins, immediately place piping hot peppers in a bowl and cover with saran wrap. Let steam (and cool) for 10 minutes and the skins will just peel right off!

Preparation
In a food processor or blender, add whole peeled tomatoes (discard juice from can), and all remaining ingredients. Pulse the food processor or blender but don’t let it run or you’ll puree the salsa and you’ll lose the chunkiness. Taste the salsa (always taste your food before serving!) and add additional salt, pepper or curry paste if needed.

The Perfect Bite
I use the Garden of Eatin Blue Corn chips, but any chip with good scooping power will work. For added yummy-ness, dice a semi-ripe avocado and sprinkle across top of salsa. Scoop up a bite and enjoy. This salsa is also great as a topping on your burger or on grilled fish and chicken.

The Perfect Pairing
Now, normally you’d never catch me recommending a boxed wine… but I’ve recently discovered Bota Box wines… and their Pinto Grigio is quite tasty. Since you’ll probably be entertaining with all this salsa… you’ll need a Bota Box (contains 4 bottles and runs $16-$20 depending on where you purchase) to satisfy the masses. Refrigerate white boxed wine over night to achieve a good tasting temperature.

Did You Know?
Jarred salsas are very high in sodium. Manufacturers have to guarantee a shelf life and use tons of preservatives. Making your own salsa lets you control the salt. I’m a big fan using plenty of flavorful spices so very little salt is necessary. And if you make it tasty enough – it will be gobbled up and it won’t need a shelf life! For even less sodium, make this recipe using fresh tomatoes cut into 1/4 inch squares. A Handy Tip: If you use rubber gloves to cut and de-seed jalapeños you’ll avoid the Diablo Rojo fiasco. The seeds are the hottest part of the chile and if you can handle, add quite a bit of heat to your salsa. Enjoy!