I love a bowl. And this is super easy, especially since it’s made primarily of leftovers! The chicken Tinga is a recipe I have made often thanks to Valerie Bertinelli and her Food Network cooking show. She makes everything look so easy and this one really is! I’ll post her recipe as I made it below but you can also click the link above and see her full chicken Tinga taco recipe, including toppings.
INGREDIENTS
CHICKEN TINGA
1 tablespoon grapeseed oil (or any high smoke point oil)
1 small yellow onion, chopped (I used sweet onion)
2 chipotles in adobo, finely chopped (look for these in re-sealable jars now!)
2 garlic cloves, minced
1 tablespoon ground cumin
1 teaspoon kosher salt
1/2 teaspoon cayenne pepper
One 10-ounce can diced tomatoes and green chiles
1 cup chicken stock
1 rotisserie chicken, shredded
BOWL BUDDIES
1 cup canned black beans, rinsed and heated with cumin, cayenne, and homemade pico de gallo all to taste
1 cup fire roasted corn, thawed to room temp (I used Trader Joe’s frozen)
1 quarter of a head of iceberg lettuce, shredded or chopped
1 half of an avocado, sliced
1 handful of pickled red onions (or to taste)
1 handful of crumbled cotija cheese (or to preference)
READY TO COOK?
Heat the oil in a large sauté pan over medium-high heat. Add the onions and sauté until they begin to soften, about 3 minutes. Add the chipotles, garlic, cumin, salt and cayenne and sauté until fragrant, about 1 minute. Stir in the tomatoes and stock and cook until they begin to simmer, about 2 minutes. Turn off the heat and carefully ladle the sauce into a heat-safe blender. Puree until smooth. Pour the sauce back into the pan over medium heat and add the chicken, stirring to incorporate the chicken into the sauce. Cook until the sauce has thickened, about 5 minutes.
Either let the chicken cool a bit if using for the bowl right away, or reheat if using leftovers because Valerie’s Chicken Tinga Tacos looked so good you had to make those first and now you’re using leftovers. Which was the case for me. Either way, you want the chicken warmed but not piping hot as it will wilt the lettuce.
First layer is your shredded lettuce. I used iceberg because I wanted crunch. But you do you. Why do people give iceberg such a bad rap? They say it’s mostly water. Well, last time I checked water was good for you!
But I digress, layer your crunchy water lettuce on the bottom, then I like to put the beans in one third, then the corn in another and the chicken in the last third (see photo). Then in the center top with slices of avocado and picked red onion, and then sprinkle the whole thing generously with the crumbled cotija cheese. I mean – you can just throw it all in the bowl at once and have a party. No need for such precision. It will taste just as good. But I like my food to look styled before I eat it. I probably watch too much Food Network.
THE PERFECT BITE
You know me, I’m a fork-stacker. And this is the perfect dish for that. Just get in there and get a little of everything. Guaranteed to be the perfect bite. I also love that this dish has the perfect mix of hot and cold. Cold, crisp lettuce and the sweet crunchy, corn contrasted with the warm, spicy chicken and tangy beans is utterly delightful.
THE PERFECT PAIRING
I know most would say that an ice cold beer would pair best with a chipotle heavy dish… but if you’re like me and prefer wine over beer, I suggest a chardonnay. It’s buttery texture will help cool your palette from the heat of the chilis. Or, to stay in the Mexican theme try making my Pineapple Aqua Fresca. It’s really refreshing!
THE PERFECT HEALTH
The vitamin A in chipotles is in the form of carotenoids like lutein and beta-carotene, which are antioxidants. Your body converts carotenoids into vitamin A. The antioxidants in chipotle peppers can help to lower blood pressure, thus reducing your risk of developing cardiovascular disease and diabetes.
I also love that when you blend Tinga sauce it becomes rich and creamy with no dairy whatsoever… making this pretty guilt free!


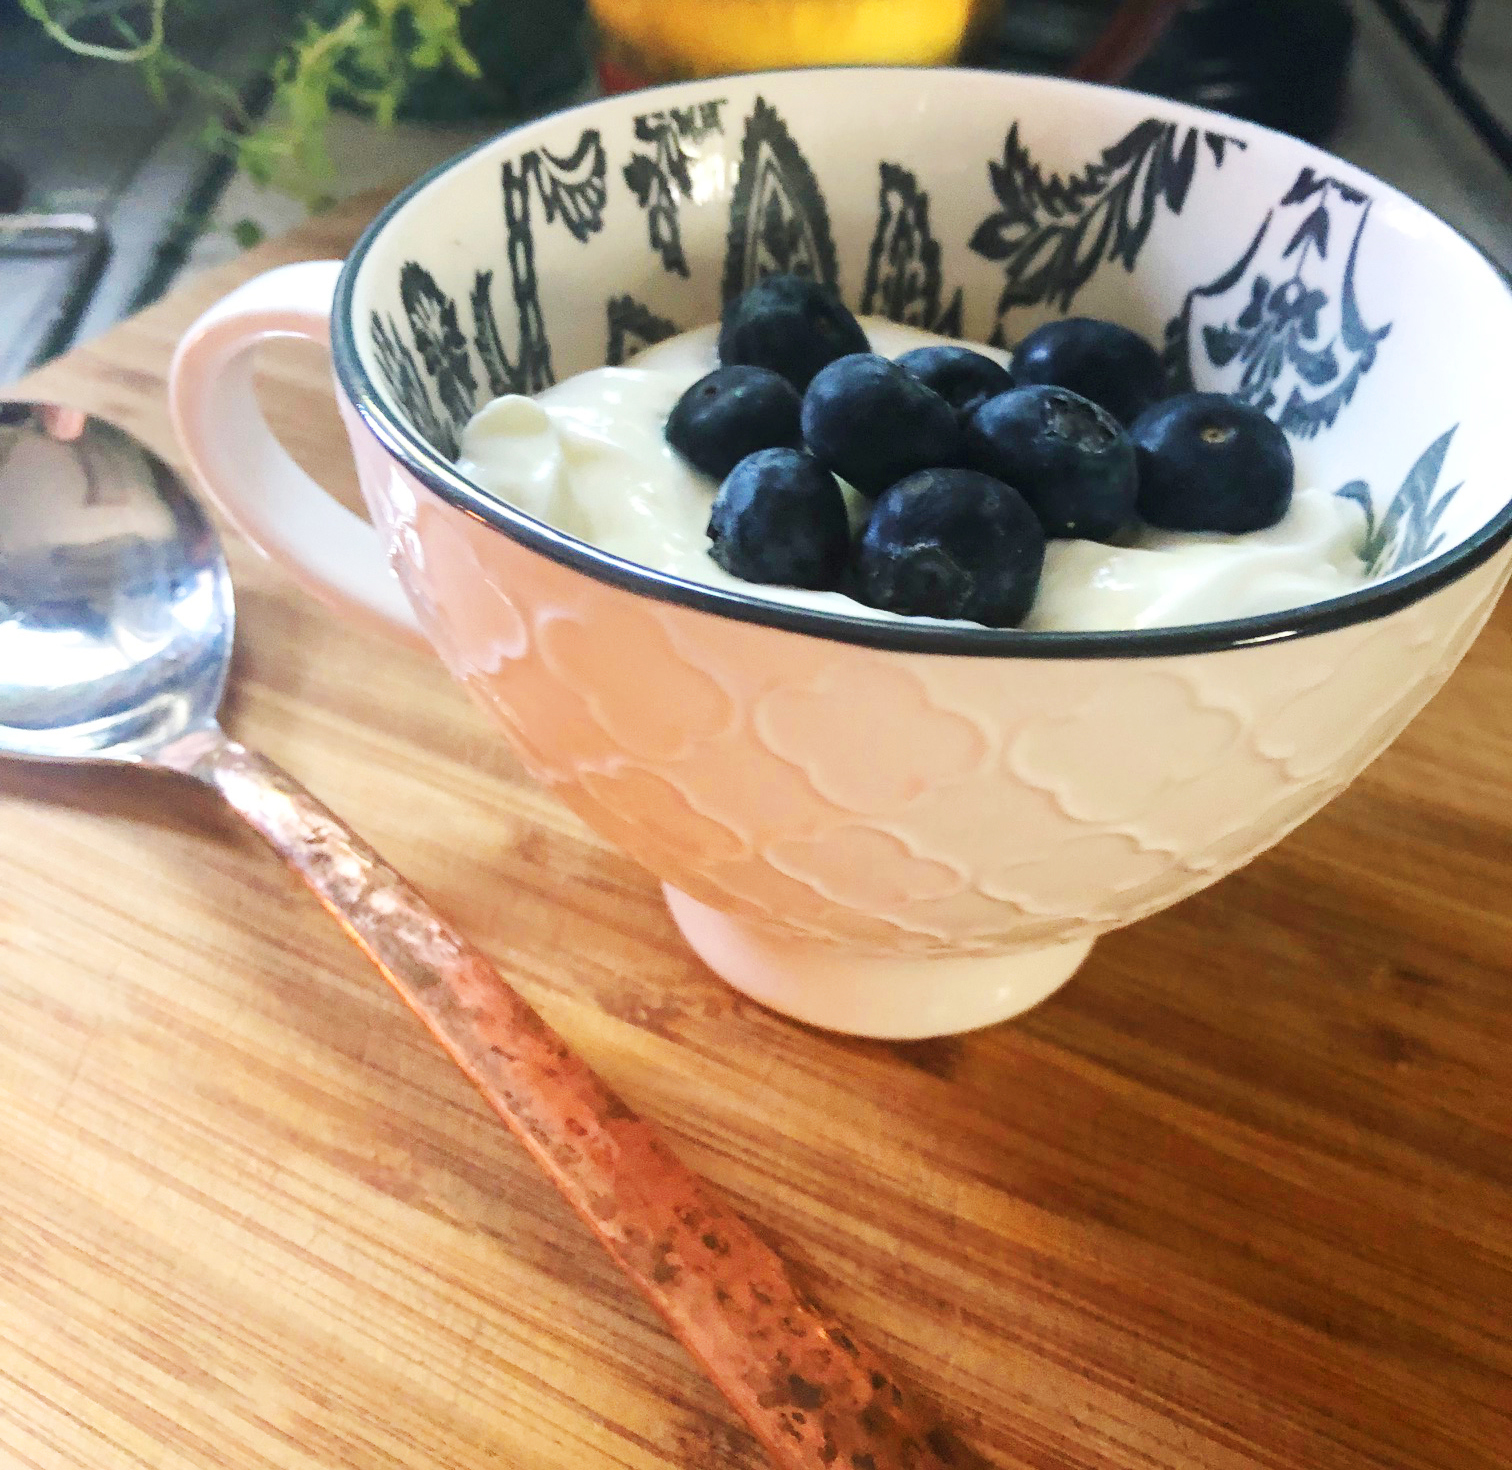
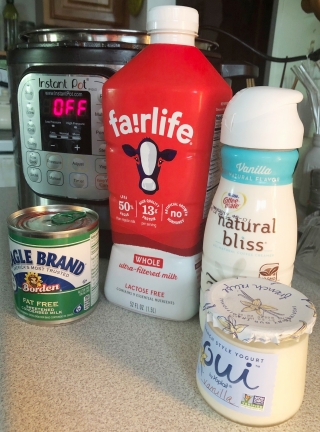
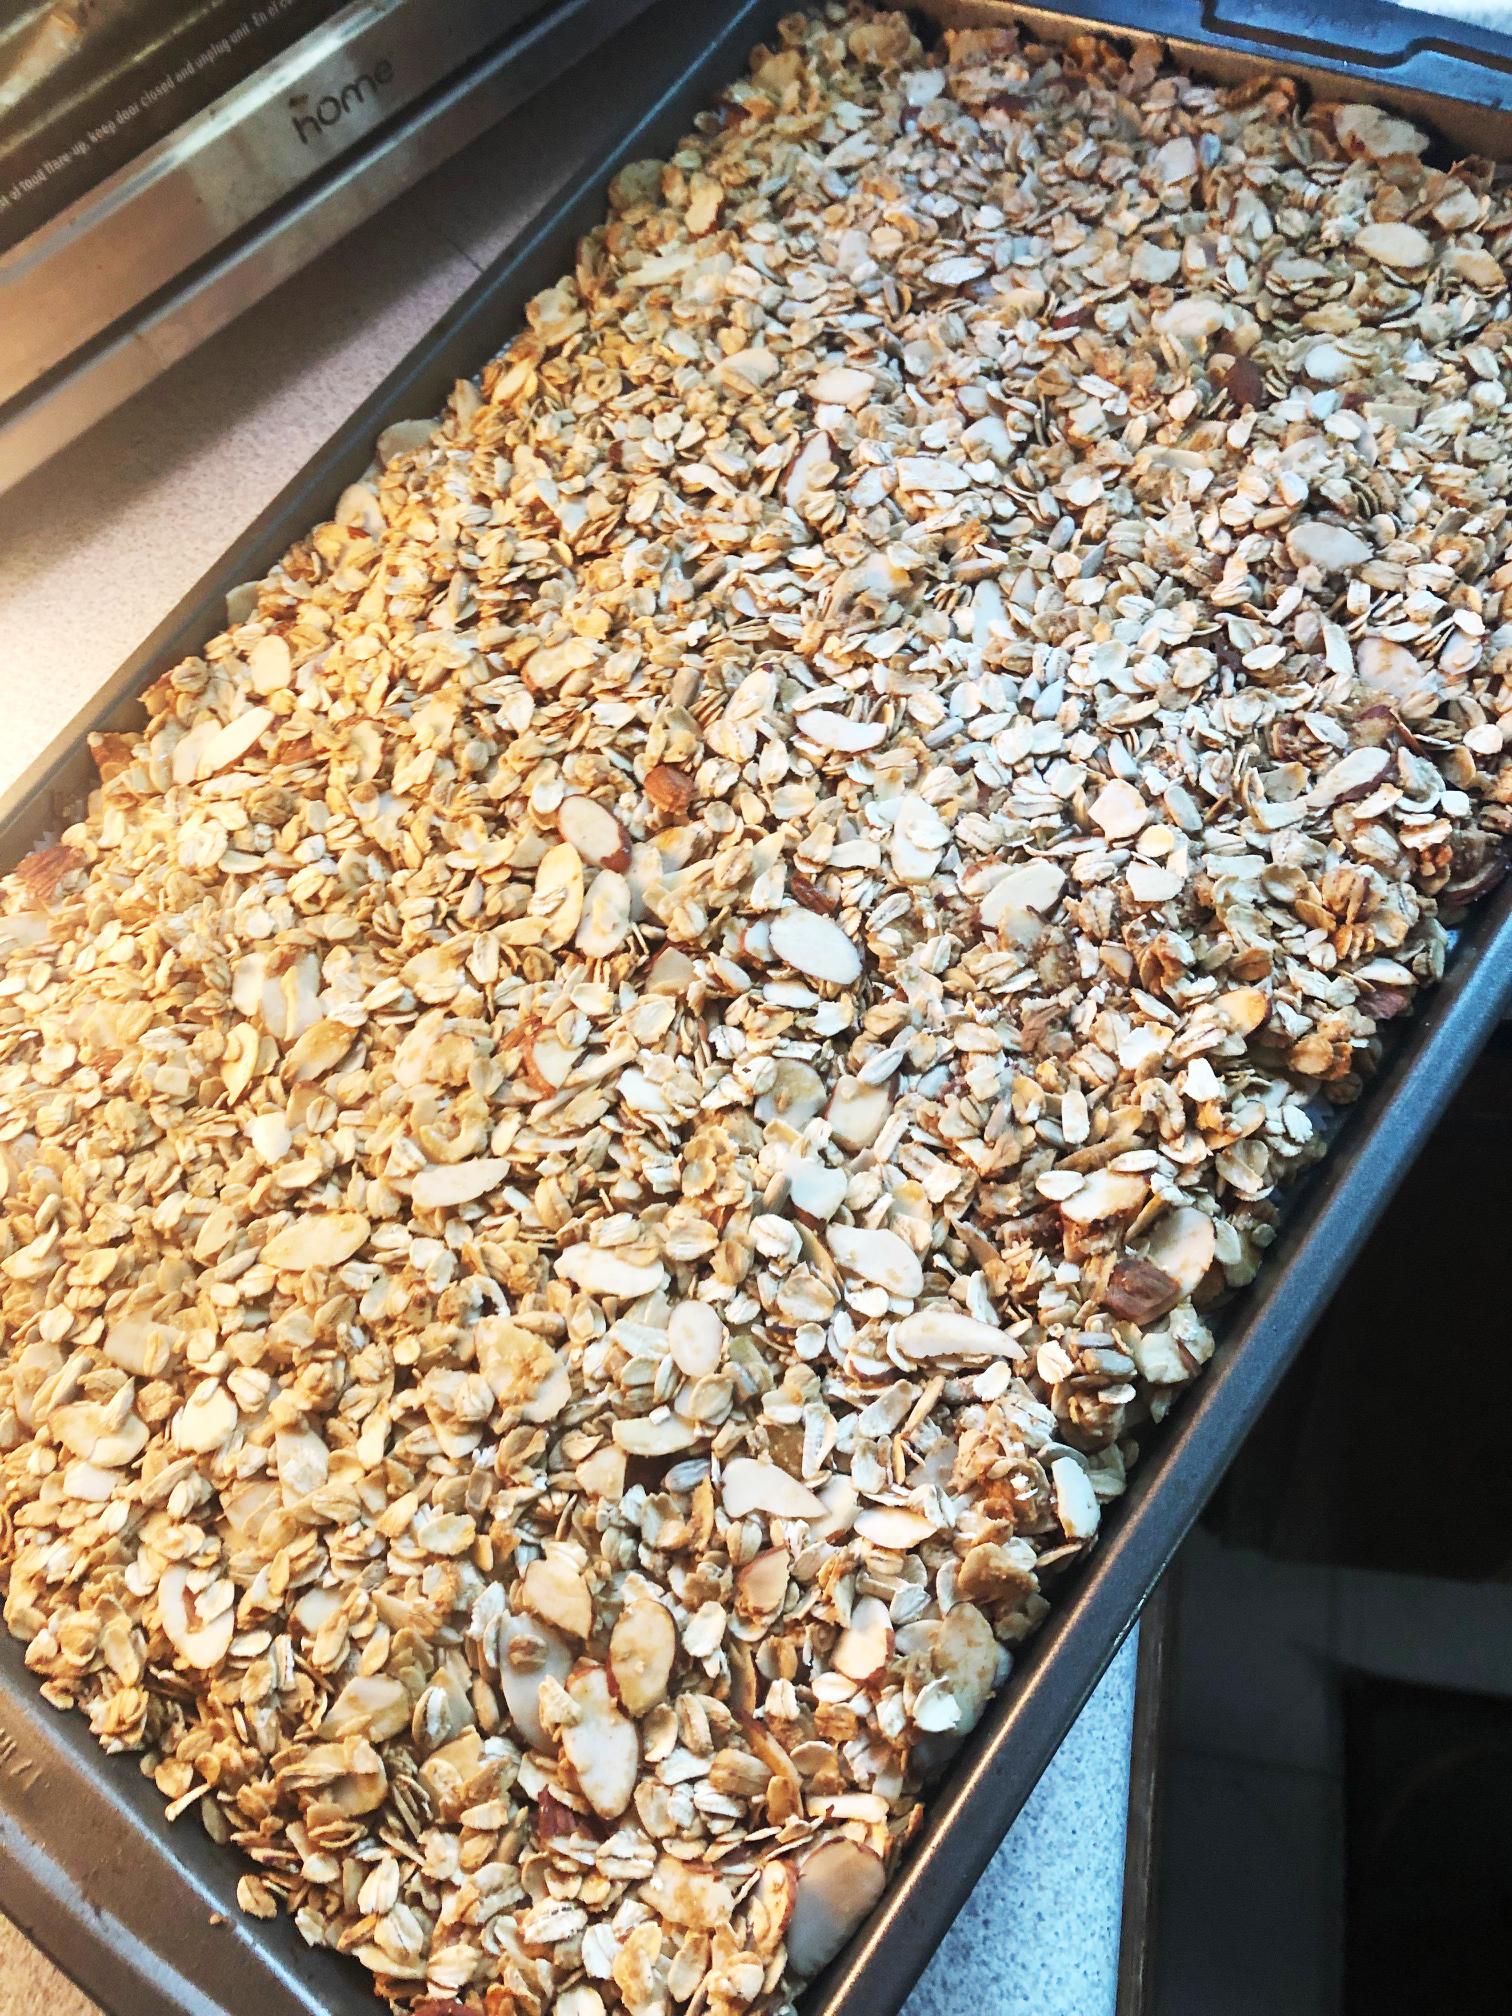
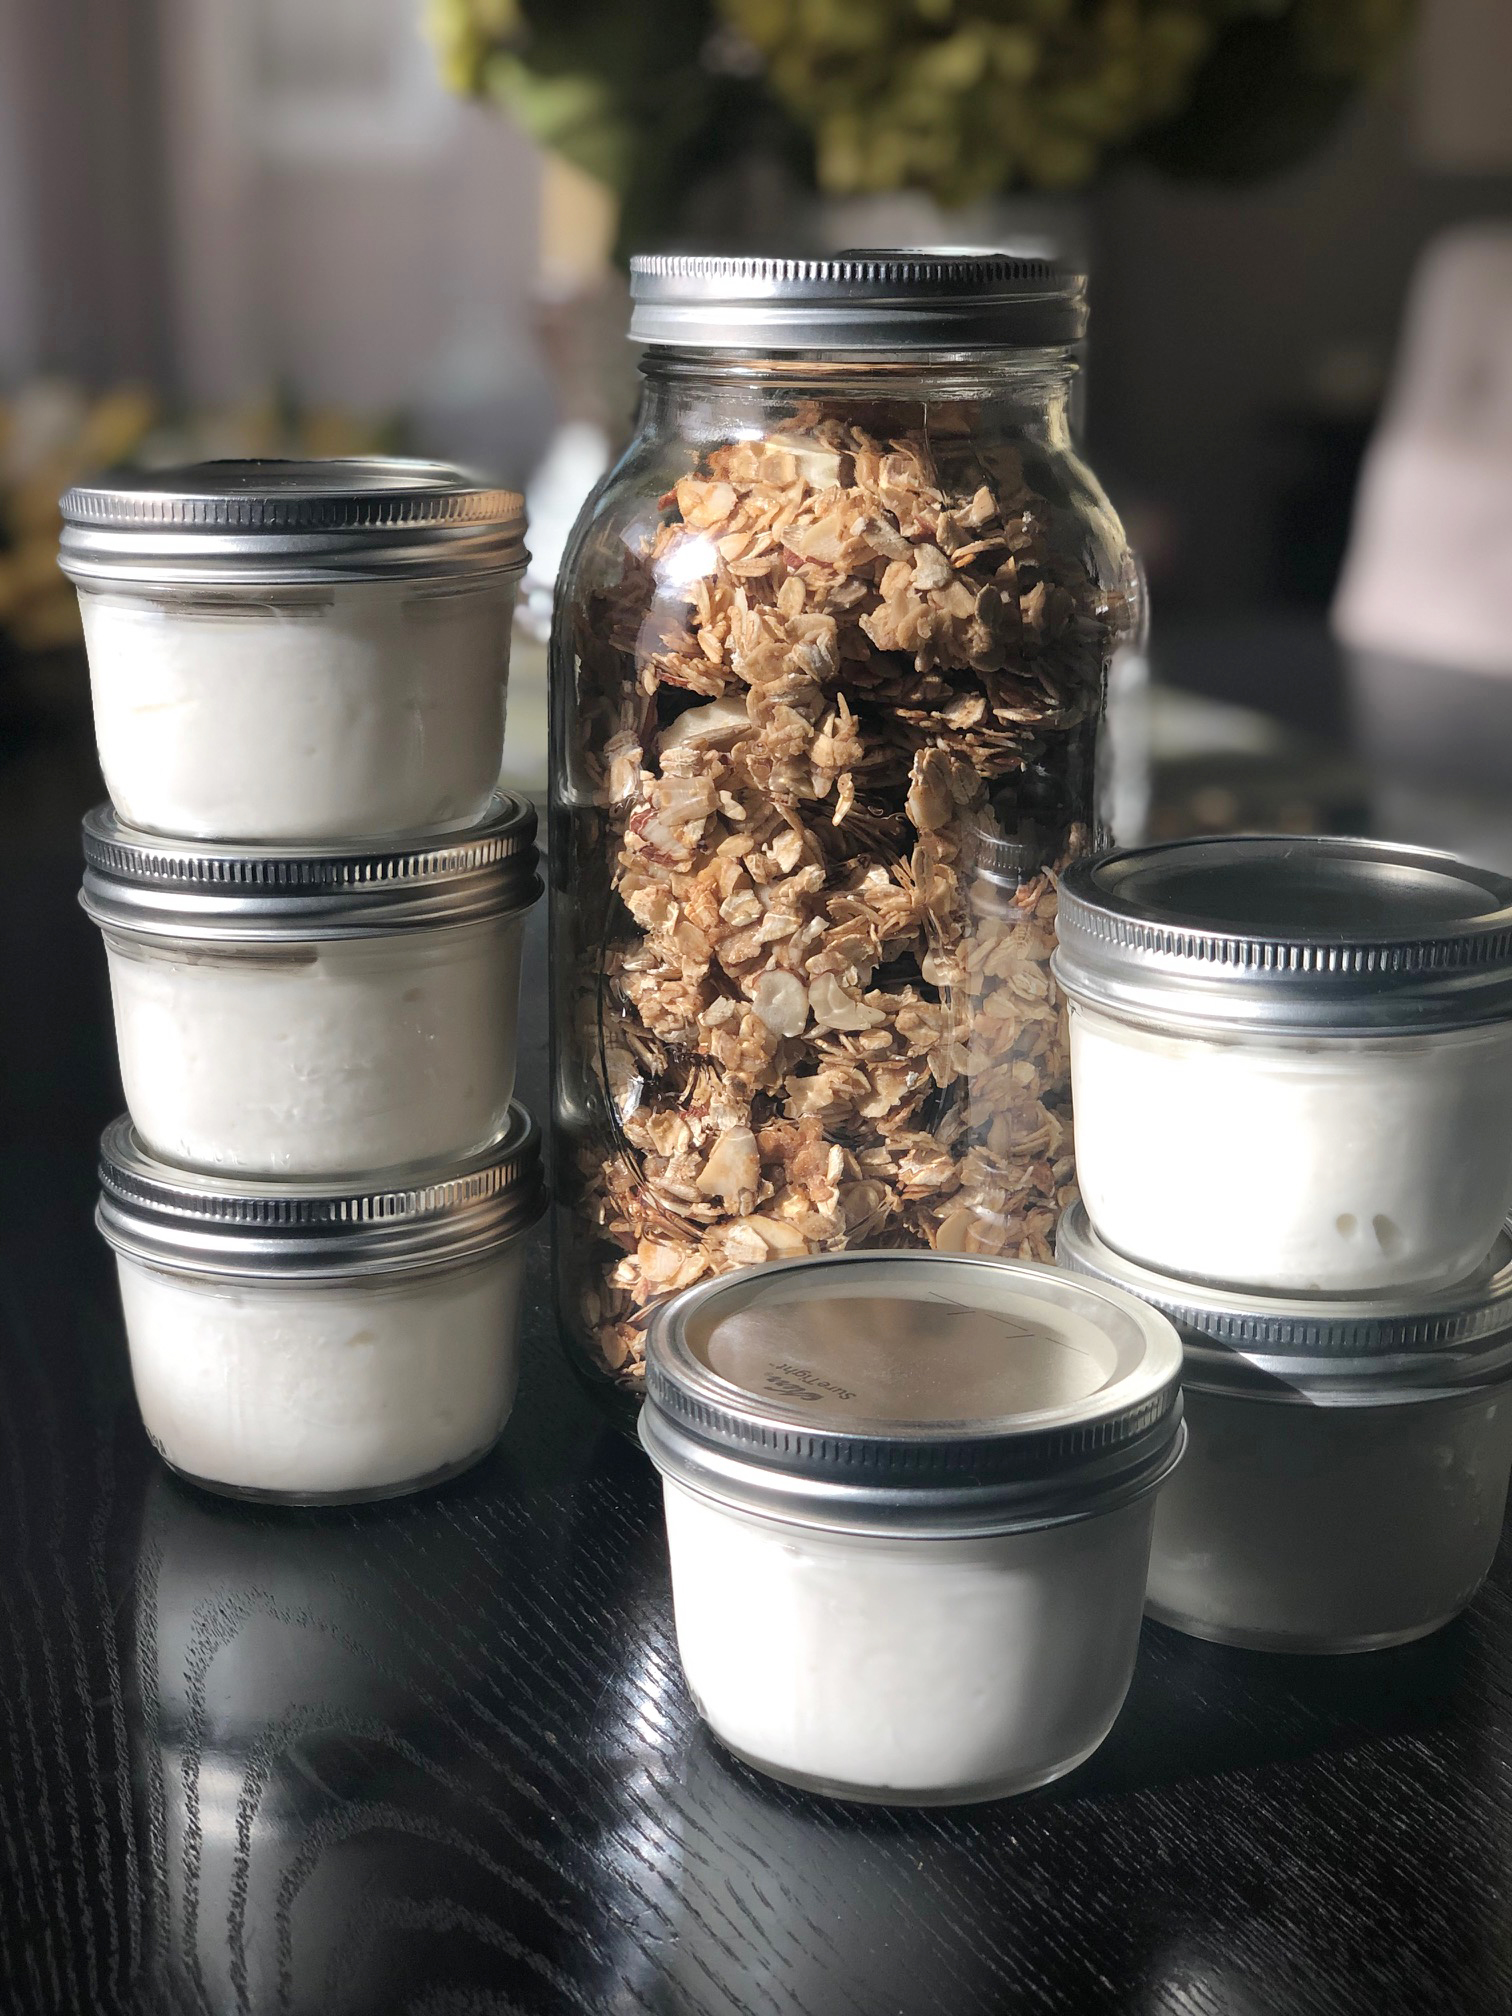 I initially made this granola because I finally learned how to make my own yogurt (recipe