This recipe is for what is called a “cold start yogurt” process. It omits the need to boil the milk first because you use Fairlife milk which is ultra-filtered. This really is a very simple process – however, there are some important details to know in order to successfully achieve creamy, delicious yogurt – so you’re going to want to read this whole post before you get started.
What is Fairlife Milk?
- Fairlife Milk is an ultra-filtered product, which runs through “soft” filters to concentrate the Milk and remove impurities
- There is more natural protein and calcium which comes directly from the Milk.
- Because of the Filtration process, the Milk is higher in protein and calcium.
- There is less sugar and the Milk is Lactose-Free!
- Fairlife Milk is not organic but is ultra-pasteurized.
DISCLAIMER: This is not an advertisement for Fairlife. This Instant Pot cold-start yogurt recipe is not to be used with milk that hasn’t been through an ultra-filtration process, like Fairlife which is different than ultra-pasteurized. Regular milk has some bacteria that need to be brought up to 180 degrees prior to making yogurt.
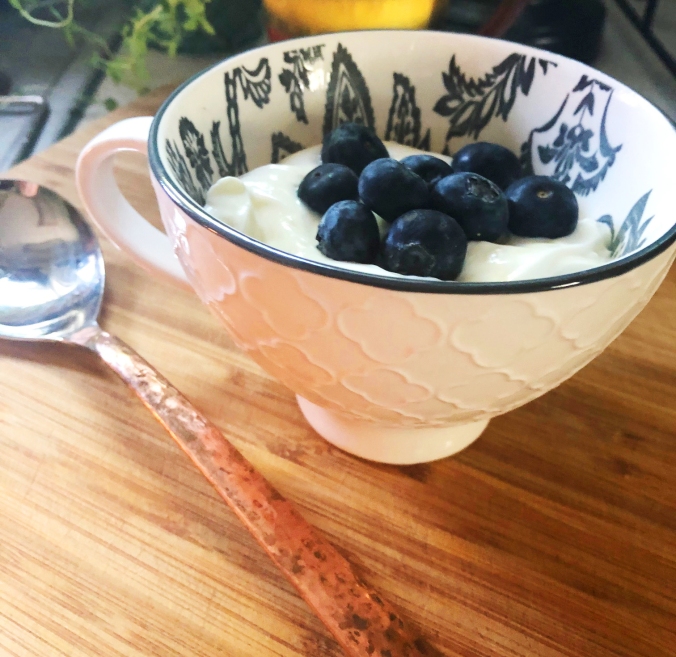
Okay – back to our regularly scheduled program: I wanted a vanilla-based yogurt for this batch and opted to put the vanilla creamer and the sweetened condensed milk in the mix at the beginning of the process to get a more intensified vanilla flavor (and boy did I!). Because this makes about 96oz of yogurt (I filled 12 8oz jars) you might want to do it at the end and divide your yogurt in half so you can have both vanilla yogurt and plain yogurt for savory purposes.
Ingredients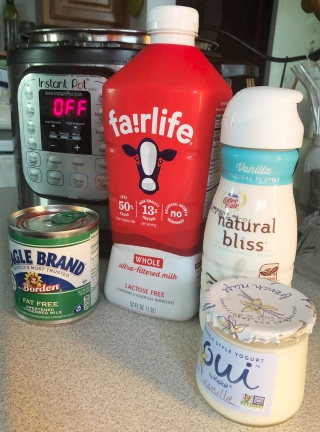
- 1-52oz Fairlife whole milk (Fairlife does have skim milk but it will definitely change the consistency)
- 1-cup of natural bliss creamer (or use two tablespoons vanilla extract – omit if you want plain yogurt)
- 1/2 a can of sweetened condensed milk (you can substitute 1/4 cup of honey – omit if you want plain yogurt)
- *2-Tablespoons of store-bought yogurt (this is the starter – you can save 2 tablespoons from this batch for your next one).
*It’s critical for you to check the ingredient list of the store-bought yogurt when you’re shopping for a yogurt starter. It must have active bacterial cultures for it to work as the yogurt starter. A live culture usually contains at least 2 types of bacteria (L. bulgaricus and S. thermophilus). I used Oui for this recipe but Oikos and Fage are both good options and have unflavored plain yogurt if you’re going that route. Dairy-free yogurt will not work. Continue reading
 I initially made this granola because I finally learned how to make my own yogurt (recipe

