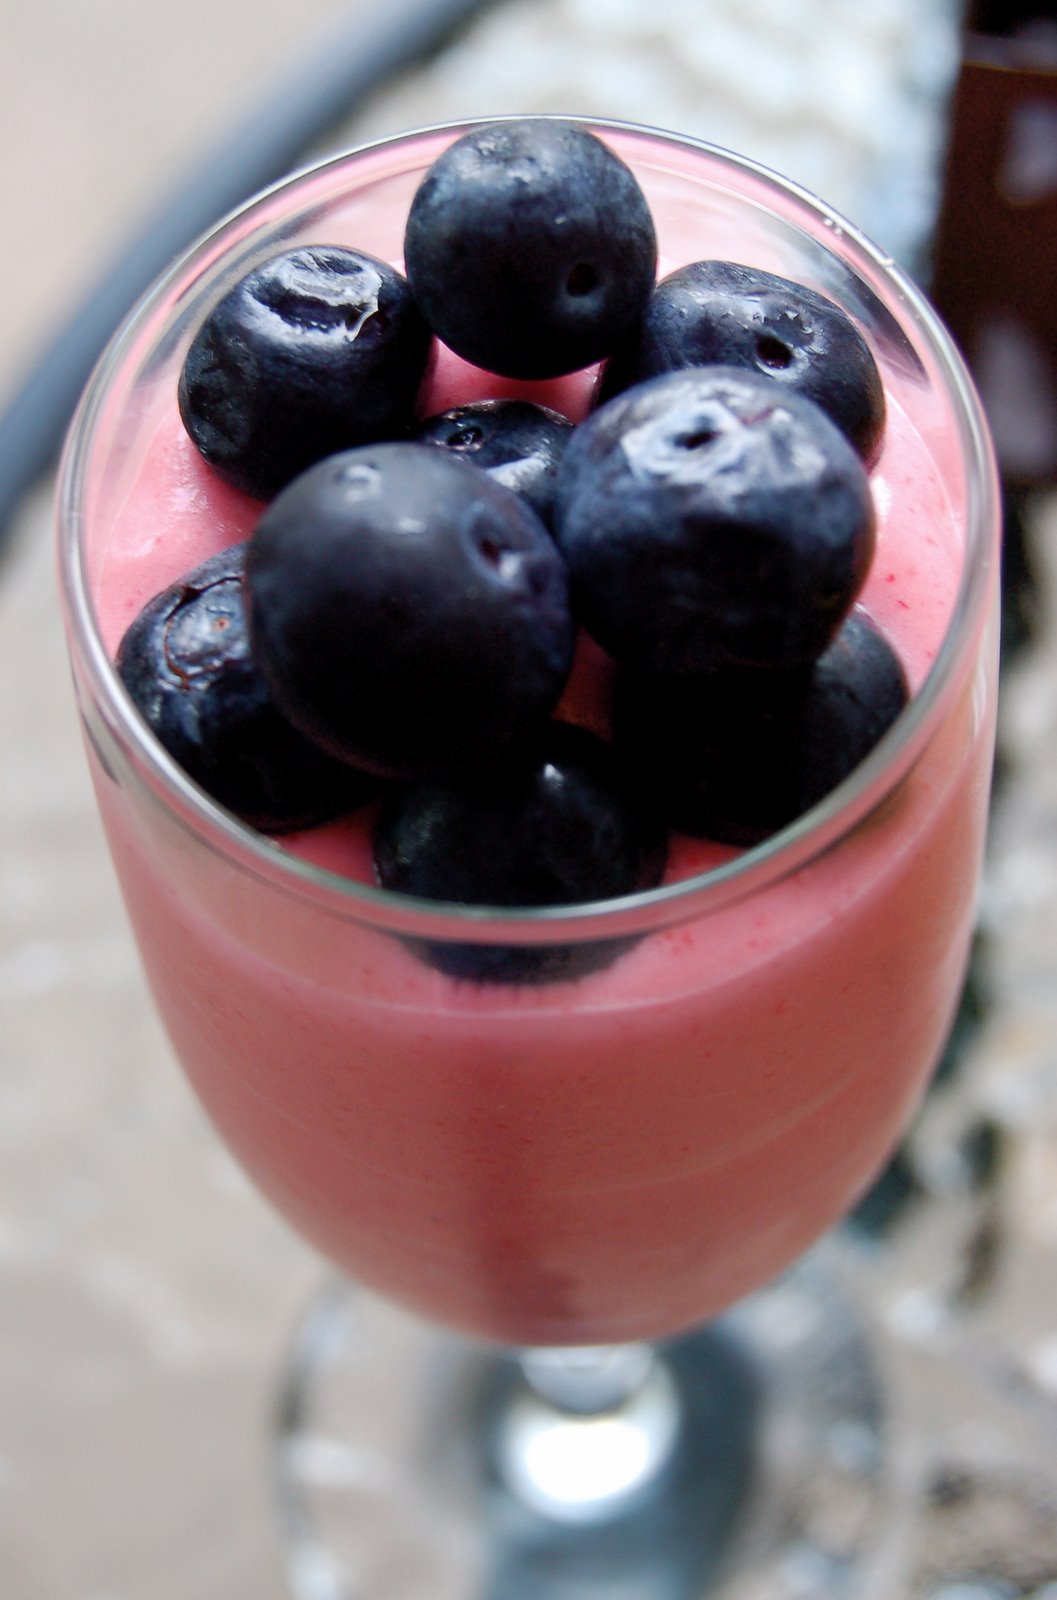
FAT FREE! What? Yes, this delicious parfait is almost completely Fat Free and mostly Sugar Free. There’s a little natural sugar in the blueberries… but the anti-oxidants you get from this power fruit more than makes up for it. And there’s just a little sugar in the wafer crust at the bottom. All in all, this light & fluffy dessert is a perfect end to any hearty burger fest you may have this summer. And since it’s Fat Free – go ahead and add cheese to your burger!
Ingredients
(serves 4)
1 – 1 oz Sugar Free – Fat Free White Chocolate Jell-O Instant Pudding
1 – .3 oz Sugar Free Cranberry Jell-O
2 cups skim milk
1/2 cup fat free sour cream
1- 8 oz container Cool Whip Free (fat free, only 1 gram of sugar and 3 grams of carbs)
1/2 cup reduced-fat Nilla Wafers – crumbled (only 2 grams fat per 11 wafers. You’ll be using less than 2 wafers per parfait)
1/2 cup fresh blueberries
Whisk together first 4 ingredients until smooth without lumps.
Fold in Cool Whip until thoroughly mixed. Don’t use a mixer or beater as you want to maintain the fluffiness of the parfait.
Put Nilla Wafers into a food processor and pulse until evenly broken up. Add just a few at a time so you don’t get complete powder. You want the consistency of course sea salt.
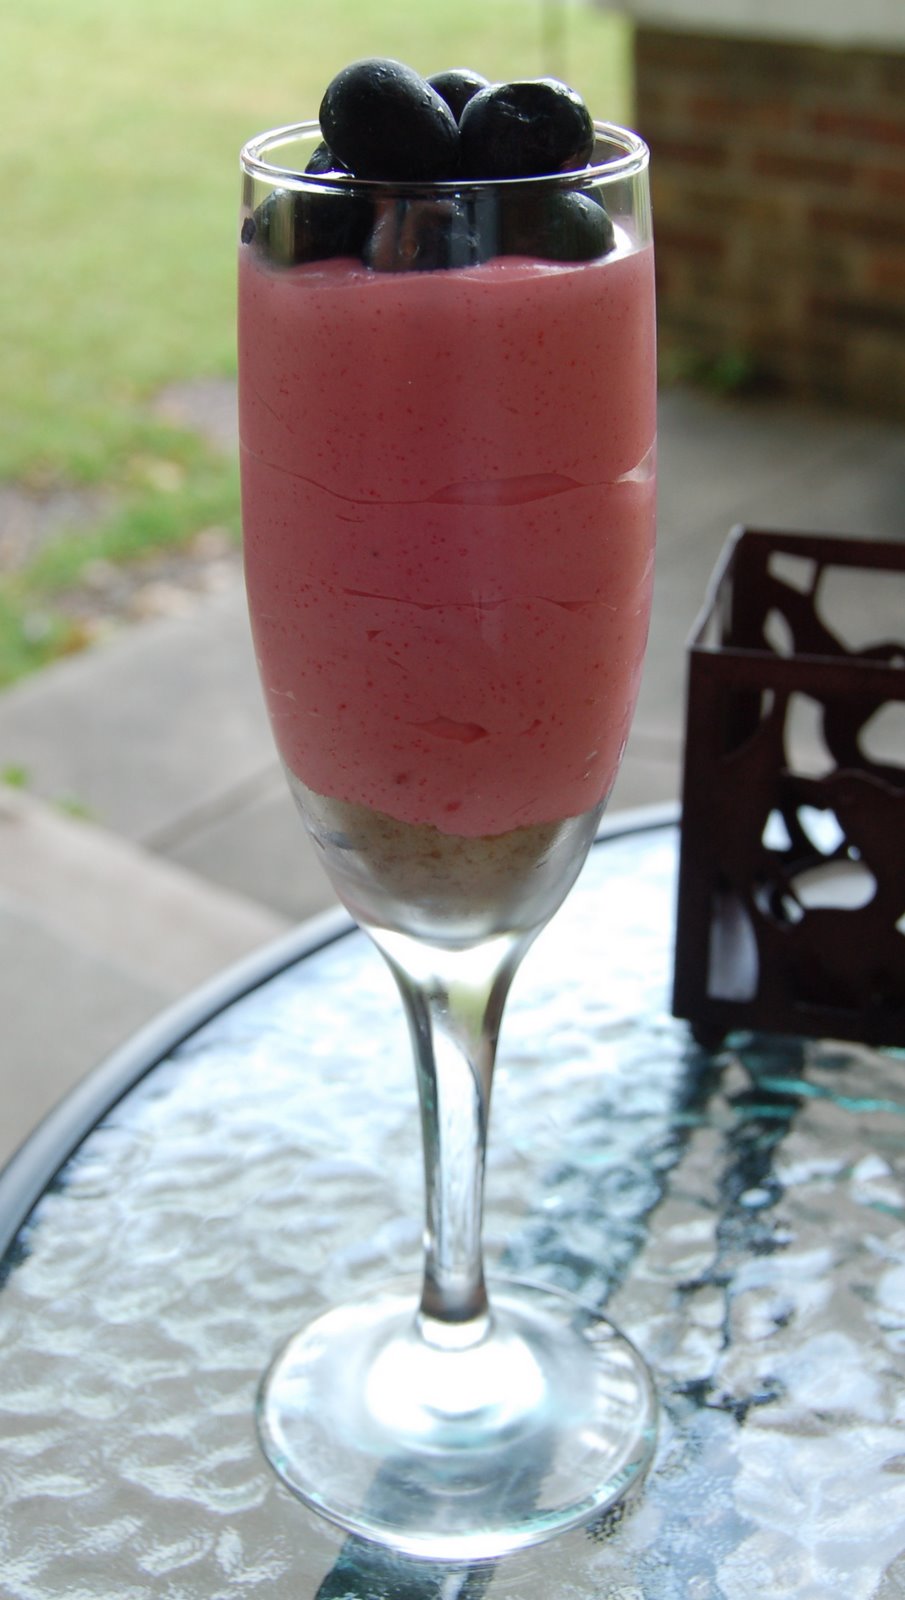
Fill bottom of glasses or dessert cups (I used champagne flutes here) with about a full tablespoon with Nilla Wafer crumbs (use a little more if you’re using wider dessert cups) .
Top with parfait mixture leaving 1/2 inch room at the top. If using a narrow glass like these champagne flutes, it helps to use a pastry bag to neatly fill the cylinder.
Refrigerate for at least an hour before serving. When ready to serve, top parfait with fresh blueberries. Don’t top with berries before refrigerating or they will sink to the bottom.
The Perfect Bite
As usual, I’m all about getting a little of everything on my fork or spoon. So dig to the bottom for some yummy Nilla crumbs, some fluffy cranberry white chocolate goodness and some fresh healthy blueberry. Enjoy!
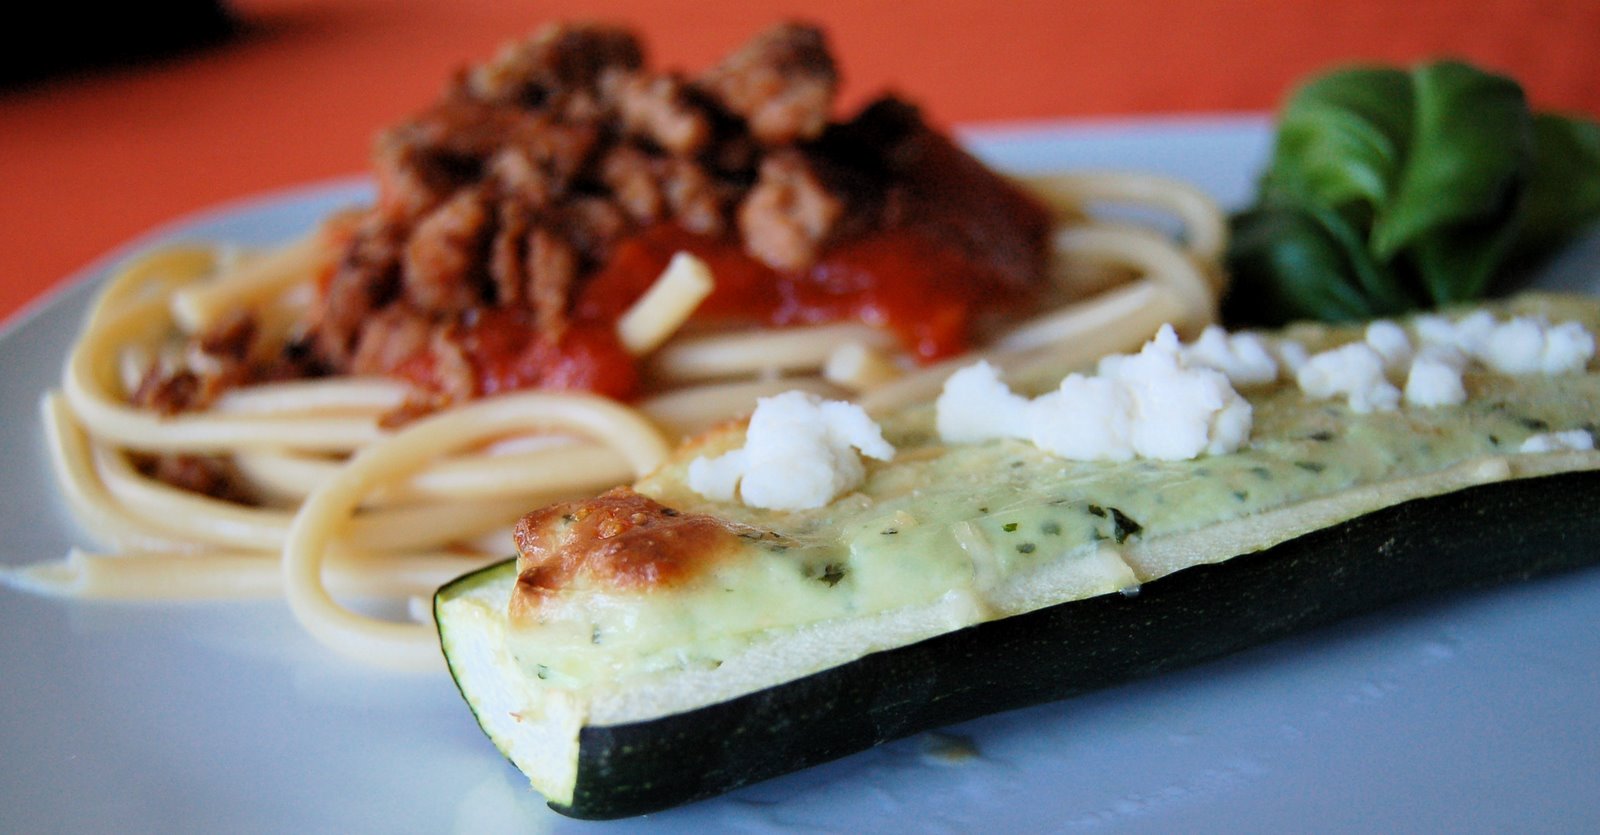
The Perfect Pairing
As mentioned earlier, this light and fat free dessert is a perfect way to top off a heavy meal of burgers on a hot summer evening. Paired with a glass of Cabernet Sauvignon from Barefoot Cellars. It has dark fruit notes of currant, raspberry and blackberry, and a velvety vanilla finish that will be a lovely compliment to the cranberry and blueberry in the dessert. An affordable Gold Medal wine that is great to pass around those big outdoor summer parties.
Did You Know?
Most Fat Free products are still very high in calories, sugar and carbohydrates. Especially sweets that are marketed as Fat Free. Even products marked “low-fat” can still be high in calories, and even fat! They’re just “lower” than the full fat version. Read the Nutrition Facts Label to make sure you’re not purchasing something that is not as “reduced” as you think it is. Read more here.


 paration
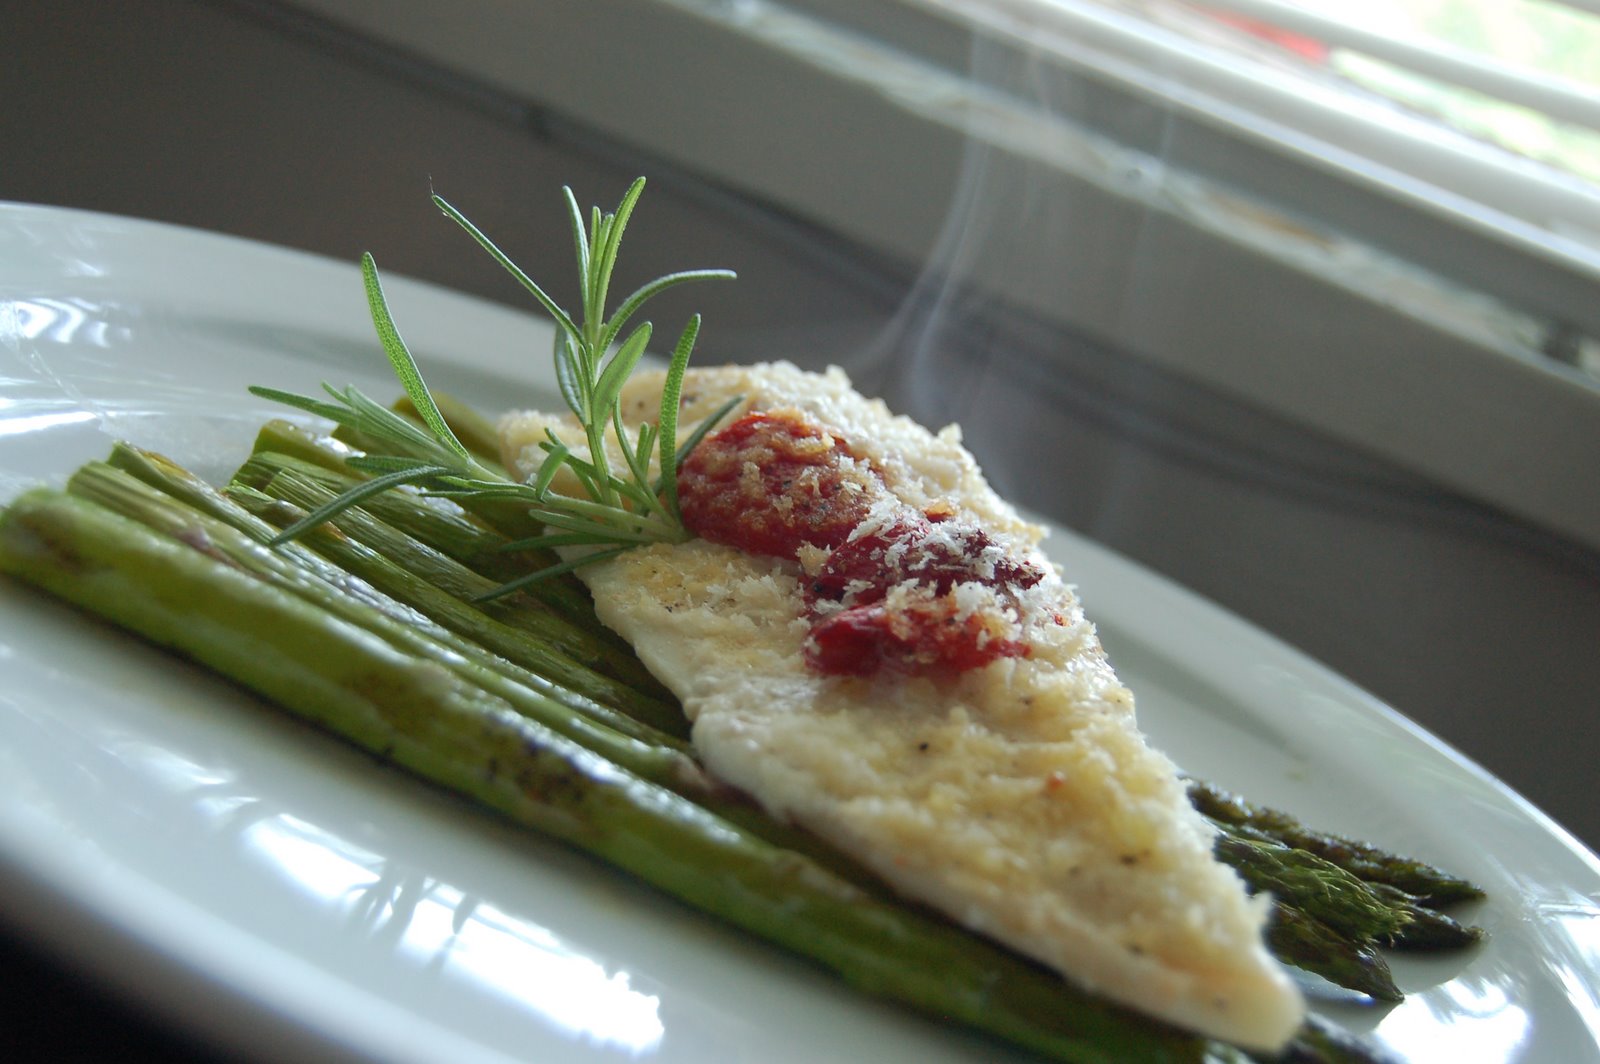
 Bake at 375º for 20 minutes or until cheese is slightly brown & crunchy around edges (you know this is the best part!)