
I love pickles.
Always have… but it was never something I thought I could make myself. I imagined the process was complicated and required all kinds of equipment – who knew?! You really just need some canning jars – wide mouth are the best – and a few essential ingredients. Kirby cucumbers are the classic pickling cucumber. Be sure to pick ones that are firm and not overly ripe. English cucumbers don’t hold up well and get mushy – and waxed cucumbers are bitter and won’t pickle well. So go to Publix (where I get mine) or your local Farmer’s Market and grab a bunch of Kirbys (or sometimes they’re actually labeled “pickling cucumbers”). I used about 6 pickles to make one quart, cut in coins. It’ll vary based on the size of the pickles.
Ingredients (makes 2 pints or 1 quart)
1 1/2 pounds Kirby cucumbers
4 garlic cloves, peeled and smashed
2 teaspoons dill seed (don’t be tempted to use dill weed – it makes a huge mess!)
1/2 teaspoon red pepper flakes, optional
3/4 cup cider vinegar
1 and 1/4 cup water
1 1/2 tablespoons kosher salt
Preparation
- Prepare the jars: If you are planning to can your pickles for long-term storage, bring a large pot of water to a boil and sterilize the jars and their lids. If you are planning to make refrigerator pickles, simply washing the jars and lids is fine.
- Prepare the cucumbers: Wash and dry the cucumbers. Trim away the blossom end of the cucumber, which contains enzymes that can lead to limp pickles. Leave the pickles whole, cut them into spears, or slice them into coins, as preferred.
- Add the spices to the jars: Divide the garlic, dill seed, and red pepper flakes (if using) between the pint jars: 2 smashed cloves, 1 teaspoon dill seed, and 1/4 teaspoon red pepper flakes per jar.
- Pack the pickles into the jars: If making spears, trim the ends if they stand more than 1/2 inch below the top of the jar. Pack them in as tightly as you can without smashing the cucumbers. If making coins, try to pack them in tight up to an inch from the top.
- Bring the pickling brine to a boil: Combine the vinegar, water and salt in a small sauce pan over high heat. Bring to a rolling boil. Cool for 1 minute and then pour the brine over the pickles, filling each jar to within 1/2-inch of the top. You may not use all the brine.
- Remove air bubbles: Gently tap the jars against the counter a few times to remove all the air bubbles. Top off with more pickling brine if necessary.
- Cool and refrigerate: Let the jars cool to room temperature. Tighten the lids and refrigerate. The pickles will improve with flavor as they age — try to wait at least 48 hours before cracking them open. They will start looking like pickles in a few hours… but will taste best after a couple of days.

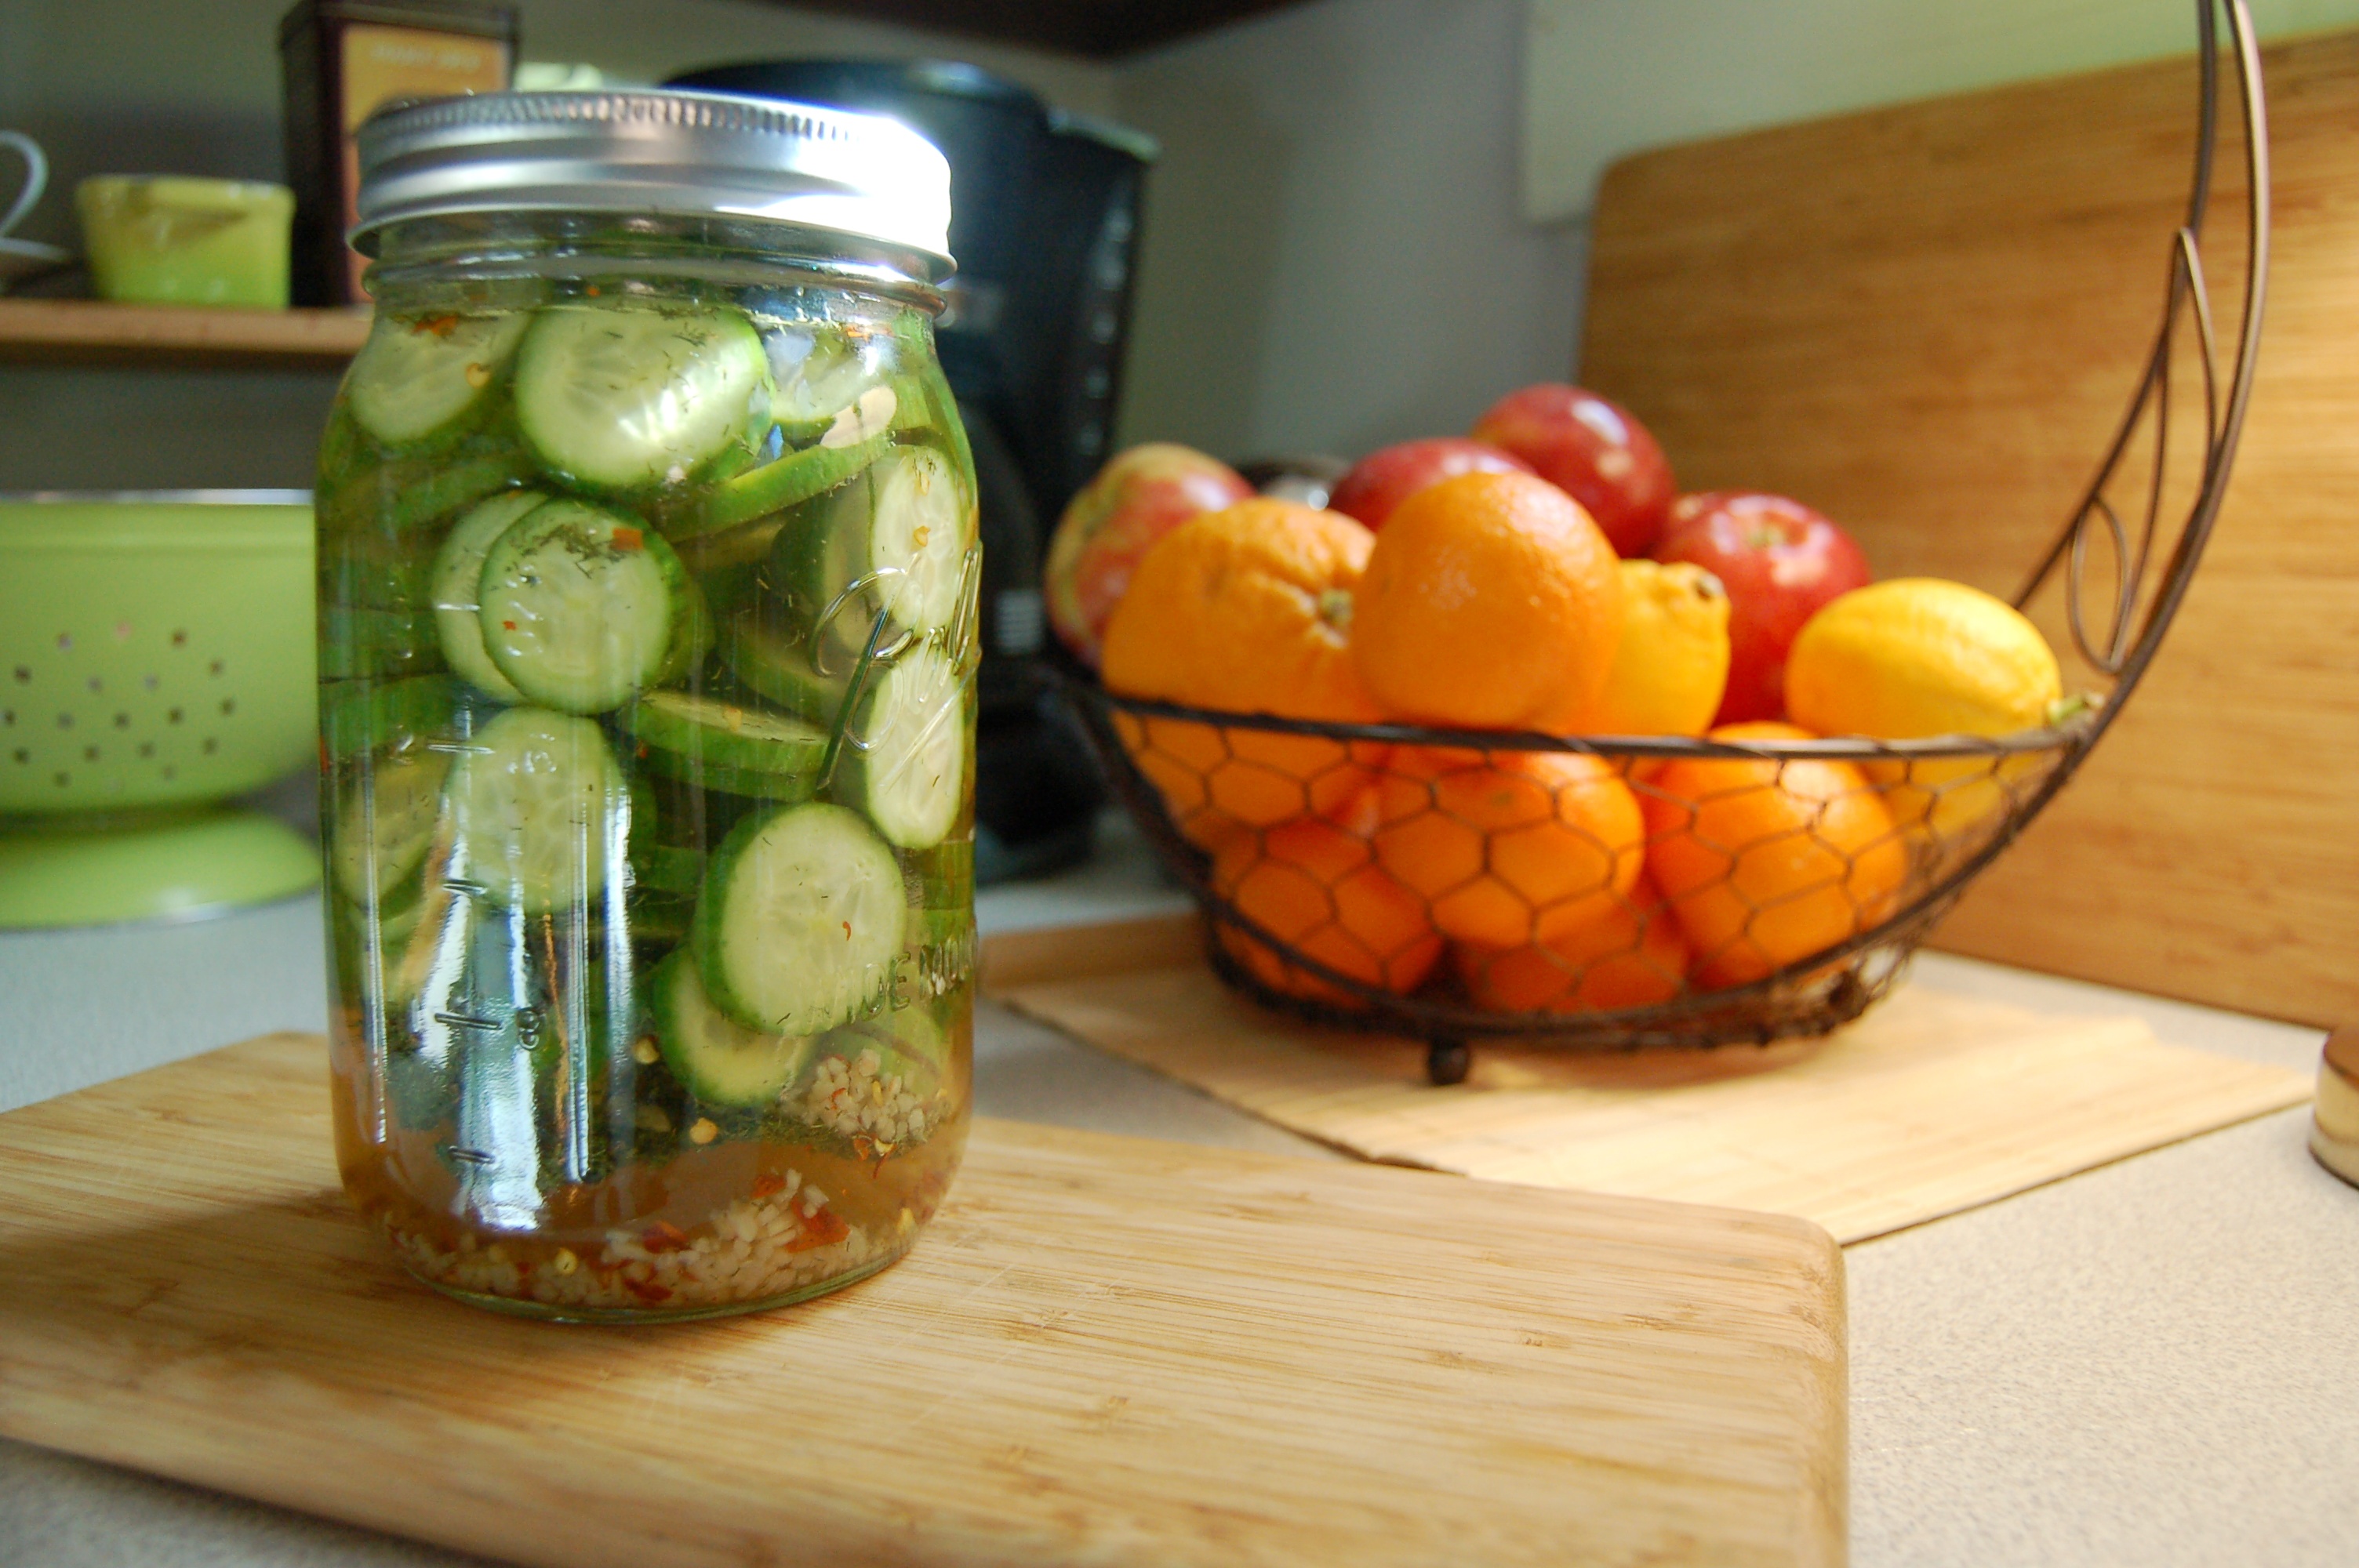
before…
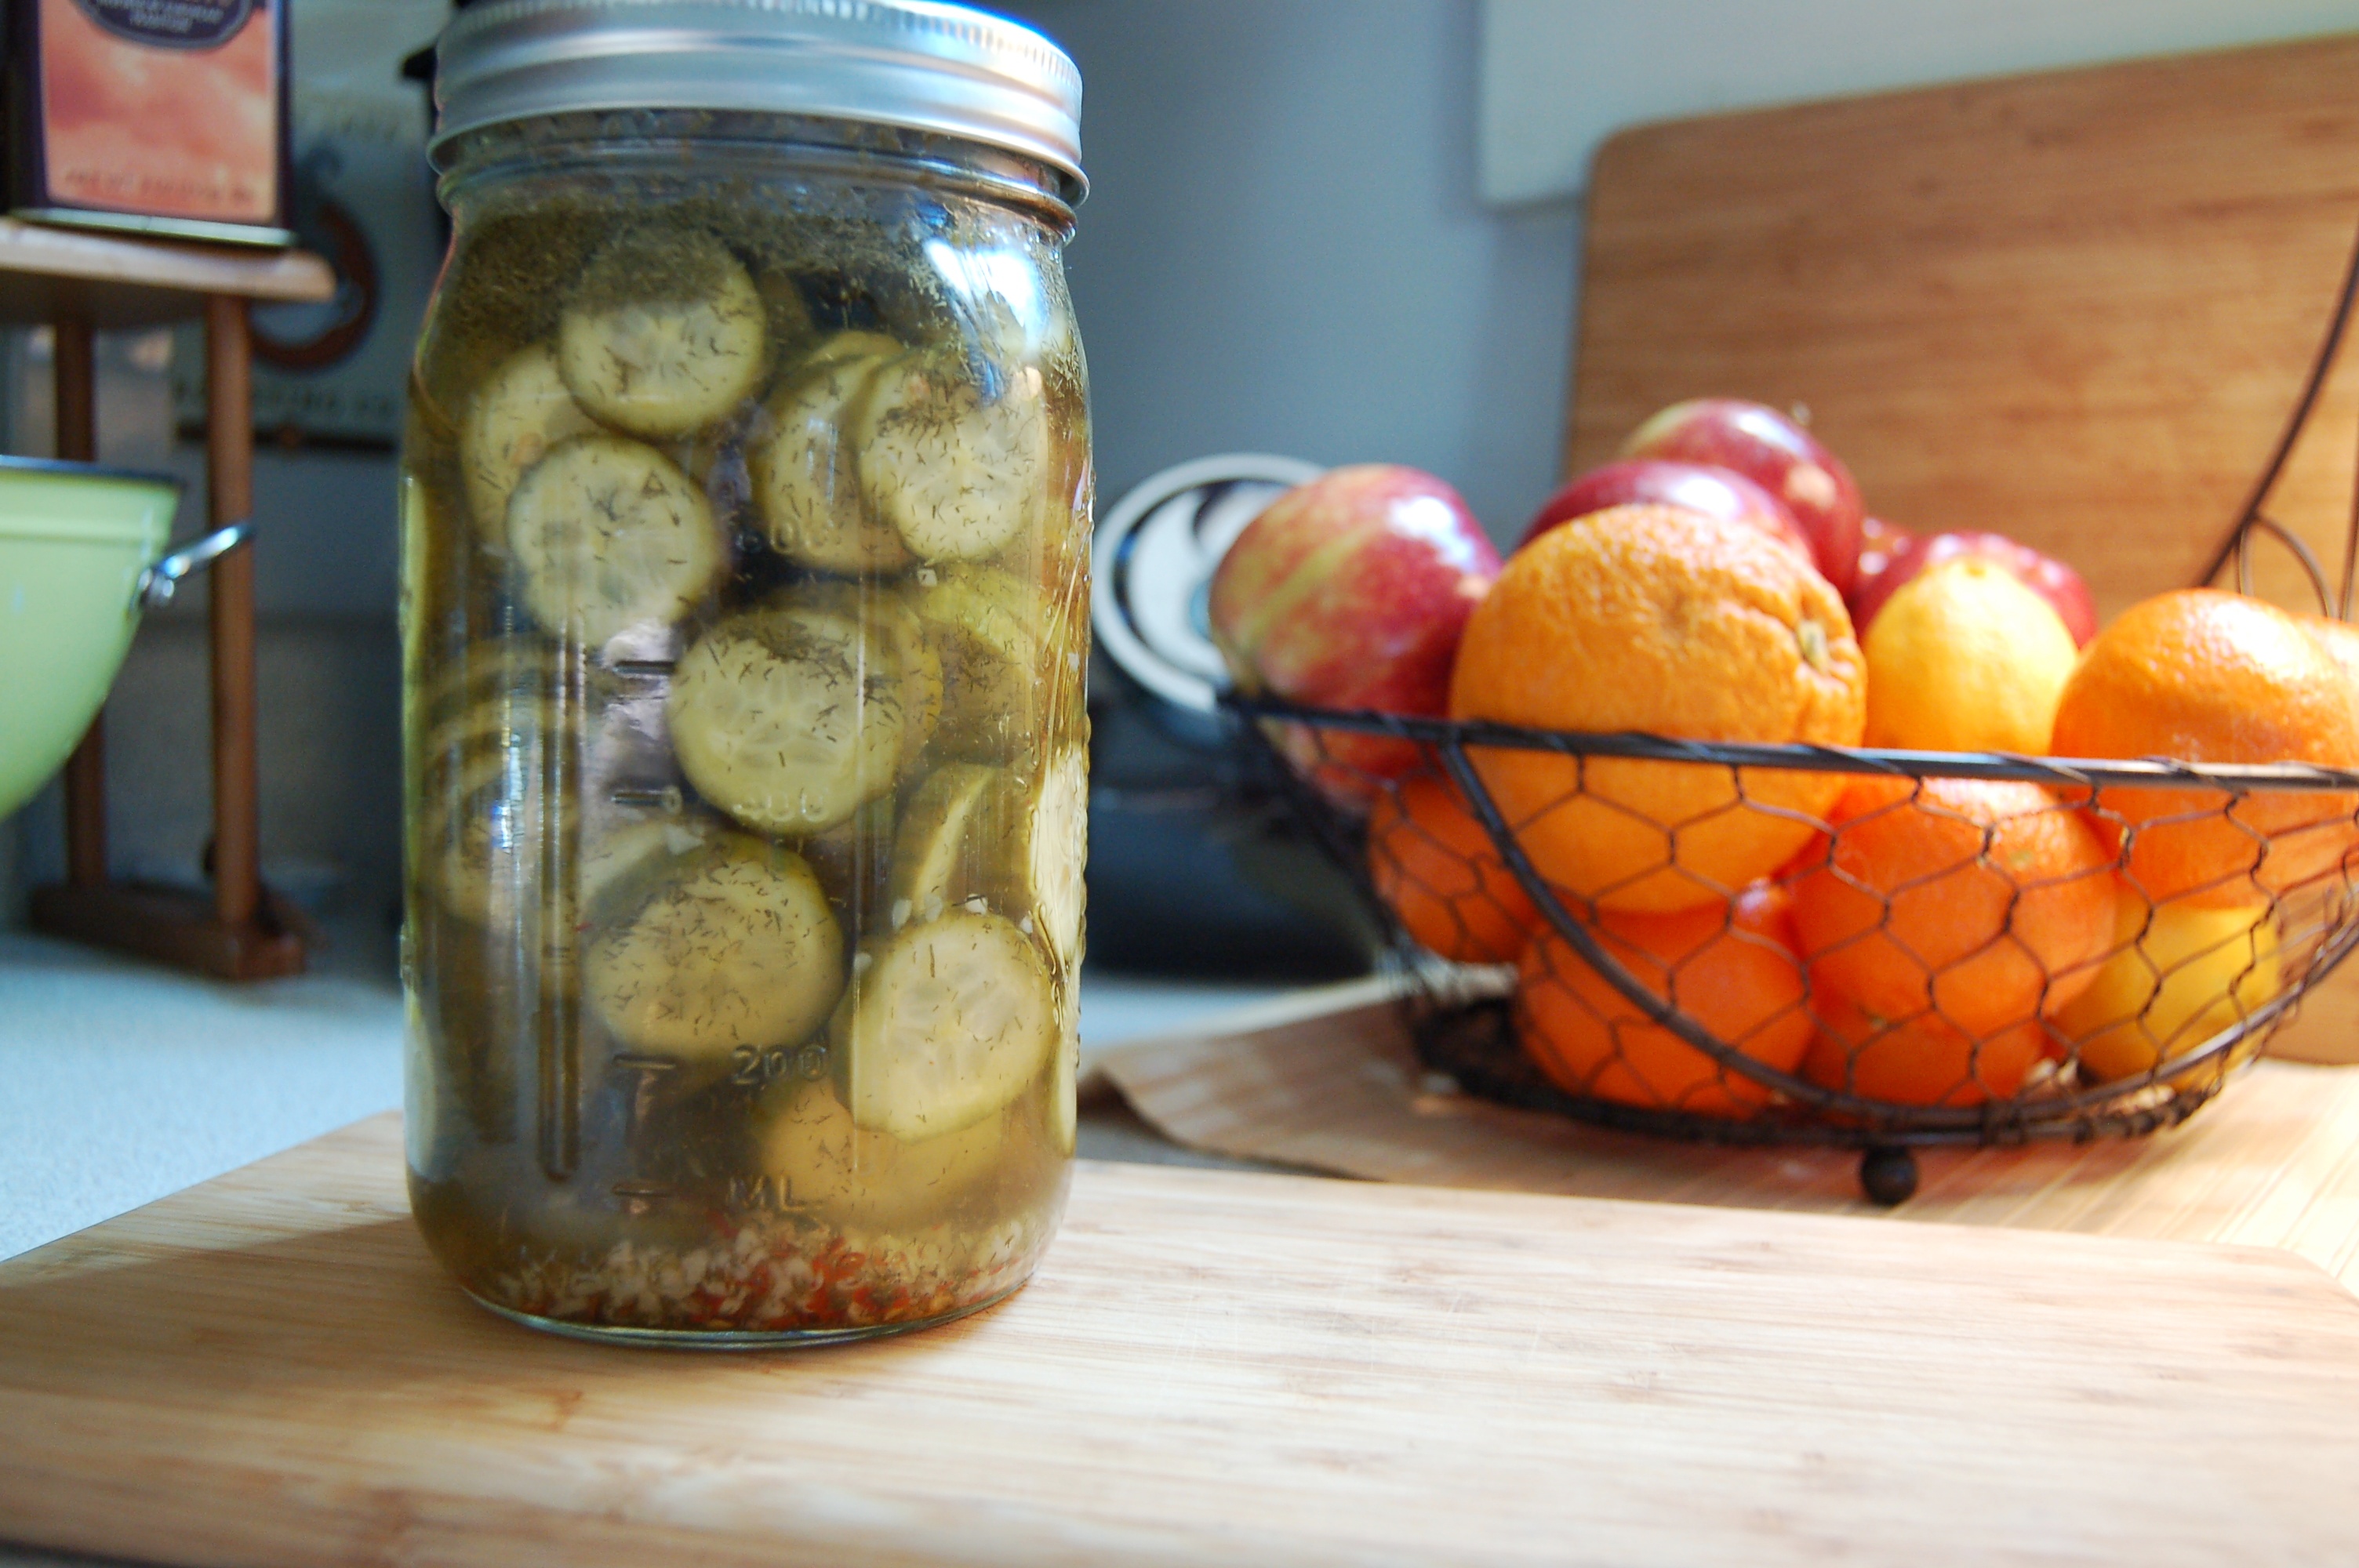
after…(as you can see, I used dill weed for this batch. It’s not good – sticks on pickles and makes a mess. Trust me, dill seed is the way to go!
Enjoy!
