
So I’ve had this jar of tri-color Israeli couscous in my cupboard for awhile now. Wasn’t sure what to do with it. But after a little research I decided roasting and toasting stuff to go in it was my best bet. Sometimes great things happen by accident. I just started throwing stuff in there and voila…. the result was pretty darn awesome. Savory, nutty, spicy… and that mysterious “umami” taste everyone’s talking about. Technically, the term is borrowed from the Japanese, meaning “savory taste”. But we use it meaning “beyond savory”… that something extra that makes you say, “wow!”
Anyway, the beauty of this dish is that you can swap out ingredients (like the veggies) for your favorites. Just be sure to prepare them the same way. Be sure to think about the type of vegetable you’re using to make sure it will go well with the spices used.
It’s a little labor intensive, but makes a huge batch you can eat on for days. Trust me, it’s worth it. Also, there are a few unique ingredients that if purchased in the grocery store, can be pretty pricey. Find a local International Market in your area (you’ll be surprised how many are out there!)… you will pay 1/3 of the price there and get twice as much. That’s where I purchased the turmeric, mustard seeds, cumin seeds, saffron and even the sliced almonds (1/2 lb bag for $4!).
Ingredients
2 cups of Israeli couscous (tri-colored optional. Sometimes called “pearl” couscous)
3 cups low-sodium veggie stock
1 cup water
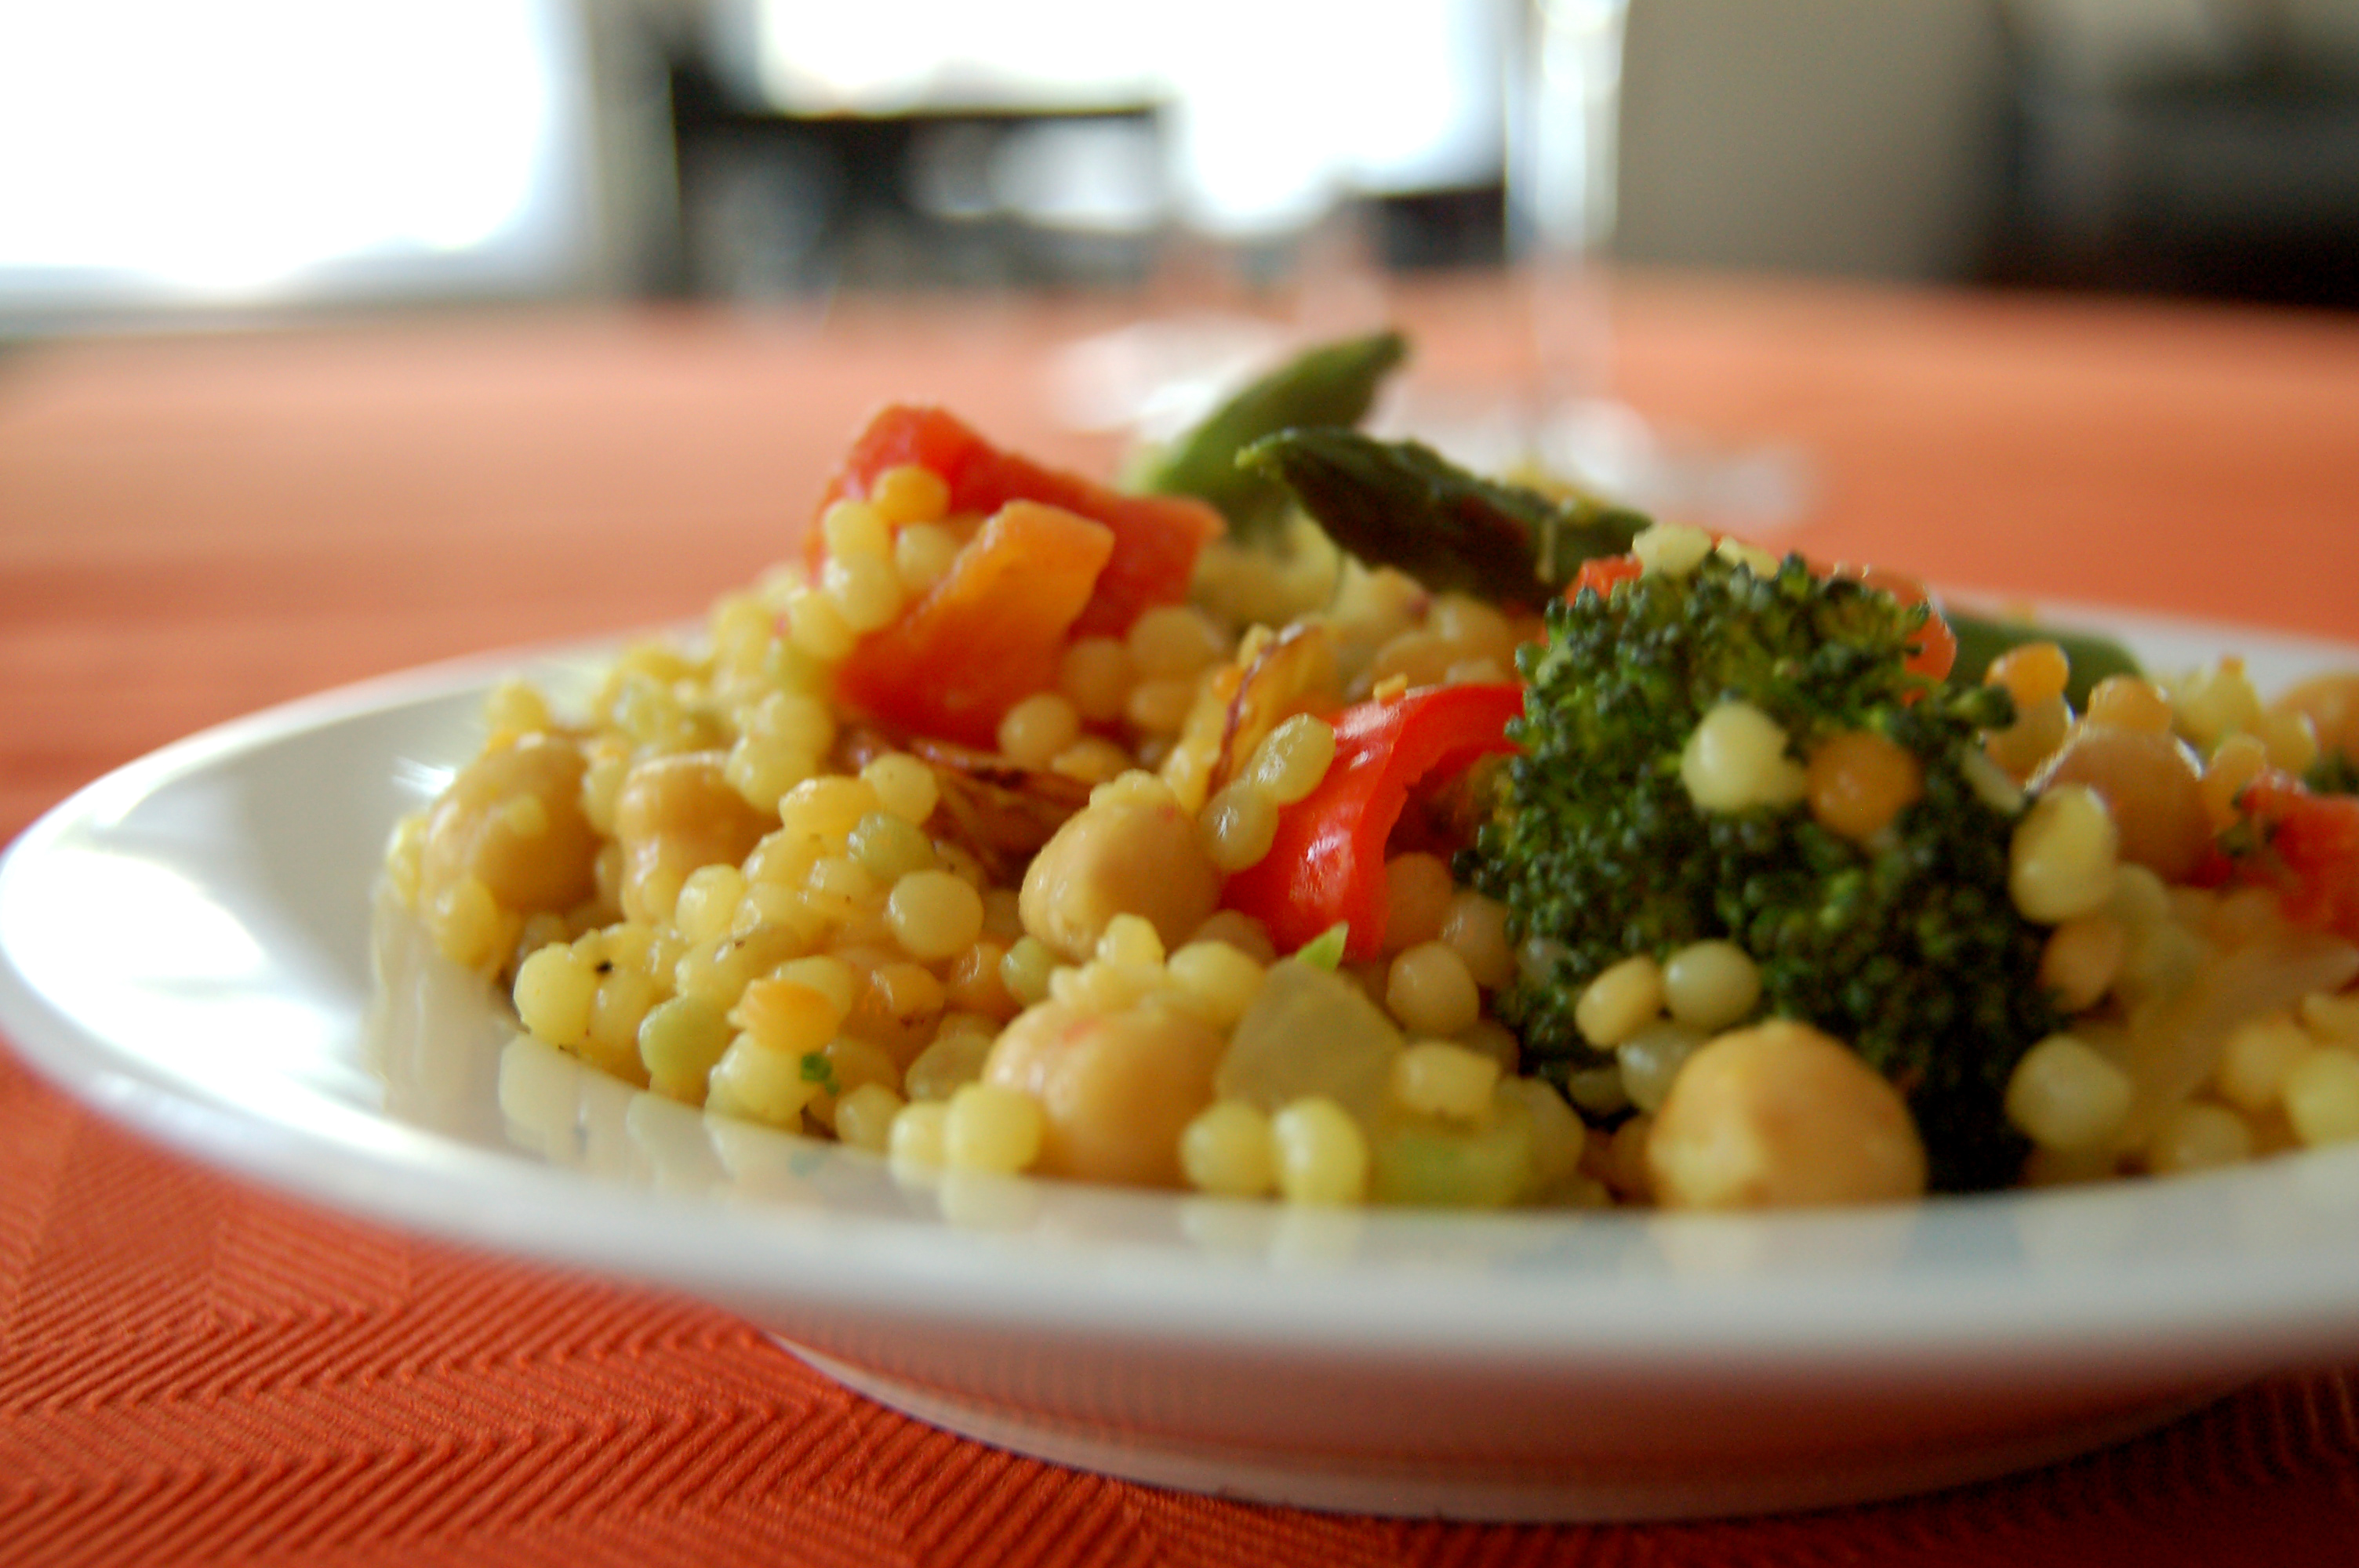
1 cup fresh broccoli florettes
1 cup fresh cauliflower
1 whole red bell pepper (stemmed, seeded and julienned)
1/2 cup asparagus tips *and 2″long each)
1 cup chopped tomatoes (I used canned, drained and rinsed because that’s all I had)
1 16oz can chickpeas – rinsed
1/2 a medium sweet onion – diced
1 tblspn minced garlic
3 sprigs green onion – diced
1/2 cup sliced almonds (use less if desired – I love almonds!)
1/2 tsp red pepper flakes
1/2 tsp whole mustard seeds
1/2 tsp cumin seeds
1/2 tsp turmeric powder
1/2 tsp saffron
2-3 tablespoons extra virgin olive oil
sea salt and fresh cracked pepper to taste
Preparation
Pre-heat oven to 375 degrees.
This is a perfect opportunity to organize your mise en place.
Dice sweet onion, mince garlic, cut asparagus, broccoli, cauliflower, bell pepper and green onion according to ingredients above. Toss cut asparagus, broccoli, cauliflower and bell pepper  lightly in olive oil and sprinkle with sea salt. Spread out on a cookie sheet into one even layer. You may need to do this in two batches.
Ready To Cook?
Place cookie sheet of veggies on top rack of oven (or use broiler). Rack should be roughly two inches from the top. Cook for 15 minutes or until broccoli and cauliflower edges start to get brown and crispy. You can smell when they’re done – yum! While that’s cooking, drizzle olive oil and heat in a large soup pot or dutch oven, over medium flame. Add sweet onion, garlic, saffron, turmeric powder and a pinch or two of sea salt. Saute until onions are translucent.
Once garlic and sweet onion are softened, add couscous to the pot and stir consistently. This will toast the couscous and will keep it from becoming mushy. Toast for 2-3 minutes… couscous will start to turn a slight color. Add veggie broth and water. Bring to a boil. Add another pinch of salt and pepper.
While that is boiling, drizzle a tiny amount of olive oil on a saute pan. Once hot, toss in mustard seeds and cumin seeds. They will sputter and splatter so be careful. This only takes a minute – so don’t burn them! You’ll suddenly smell the aromatic seeds and they are ready to throw in the pot of couscous. Reduce pot to simmer. Add roasted veggies, almonds, green onion, chickpeas, tomatoes and red pepper flakes. Stir until well mixed. Remove from heat when all liquid is absorbed. Add salt and pepper to taste.
Serve warm or cold!
The Perfect Bite
If you’ve been reading this blog for awhile, you know I’m about to tell you to stack your fork with a little bit of everything! However, there are so many ingredients in this – that might be impossible. So, take a few bites… you’ll be amazed how each bite will taste like a different dish! I love getting a taste of the earthy mustard or cumin seeds… then heat from pepper flakes, or smoky from the roasted vegetables. You’ll never get bored, bit after bite.
The Perfect Pairing
There are so many flavors happening here you want an uncomplicated wine. Try Cline Cellers 2010 Viognier. Cline’s Viognier offers rich and distinctive aromas of peaches, apricots, orange blossoms and honeysuckle which will compliment the smoky, earthiness of the spices in this dish.
The Perfect Health
I’ve heard so many people say that couscous is a grain. But, um, no. It is pasta. Believe it or not, it’s made from semolina. Often hand rolled and sprinkled with wheat flour to keep separated. Israeli couscous is toasted, rather than dried, which gives it a nutter flavor.
So is couscous healthy? Not necessarily. But it is a healthier option than most pastas. Especially since it’s generally paired with vegetables and not cheese. But it is a little “carby”. Read more HERE about the health pros and cons of our beloved couscous.


